
In this article we walk you through step‑by‑step how to connect MetaMask (the “Fox” wallet) to the HECO testnet RPC network and quickly obtain test tokens. With illustrated instructions, we help newcomers overcome connection hurdles, ensure they are ready before a live deployment, and later sections will detail further configuration—worth a read.
MetaMask (Fox) Wallet Test RPC Network Configuration and Test Token Acquisition
Before using it in production, first connect your wallet to the HECO testnet and claim test tokens. The whole process is divided into two main parts: Obtaining test tokens and Configuring the RPC network. Below we explain each step in the order you would perform them.
1. Getting Test Tokens from the Faucet
- Open the HECO testnet faucet page in Google Chrome:
https://scan-testnet.hecochain.com/faucet
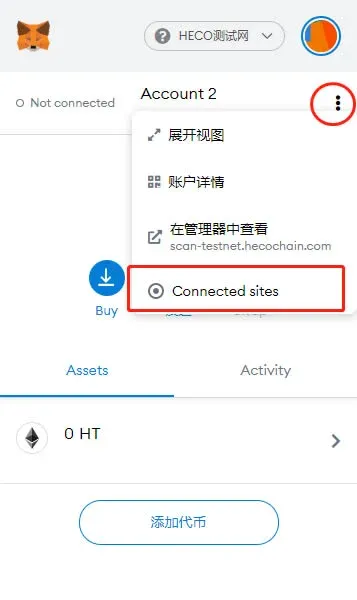
- In the top‑left corner the pre‑configured HECO Testnet will appear (if you have previously added it to MetaMask), as shown:

- Initially the status will show “Not Connected”. Click the More button in the top‑right corner and select Connected sites.
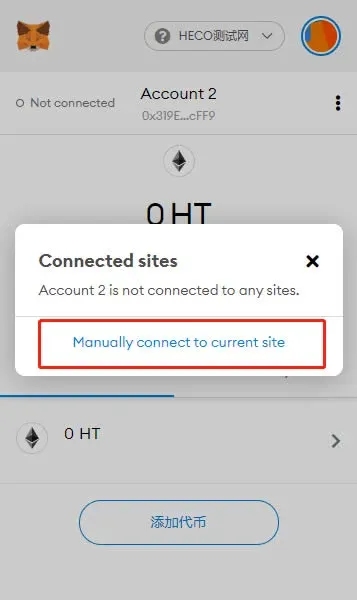
- In the pop‑up list click Manually connect to current site to initiate a manual connection to the site.
- A MetaMask confirmation window will appear; click Next and confirm that you want to connect using the current account.
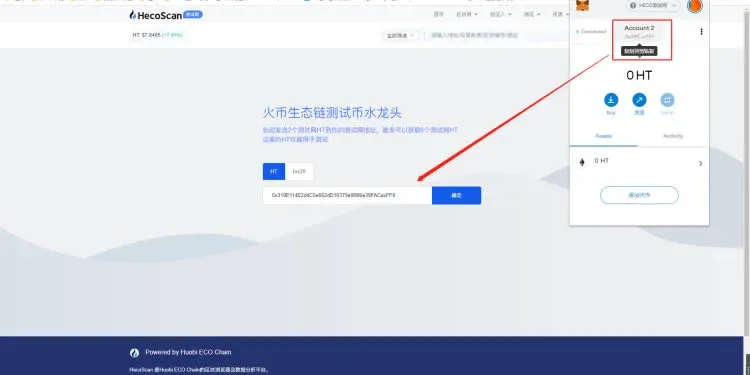
- As soon as a green dot appears in the top‑left corner, the connection is successful.

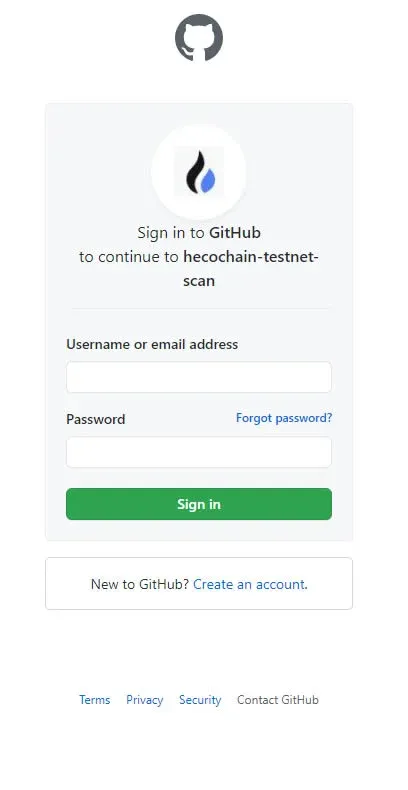
- Return to the faucet page and click the GitHub Account button to authorize (if you do not yet have a GitHub account, please register first).

- Follow the illustration and click the corresponding icon to complete identity verification.
GitHub Account Login and Registration
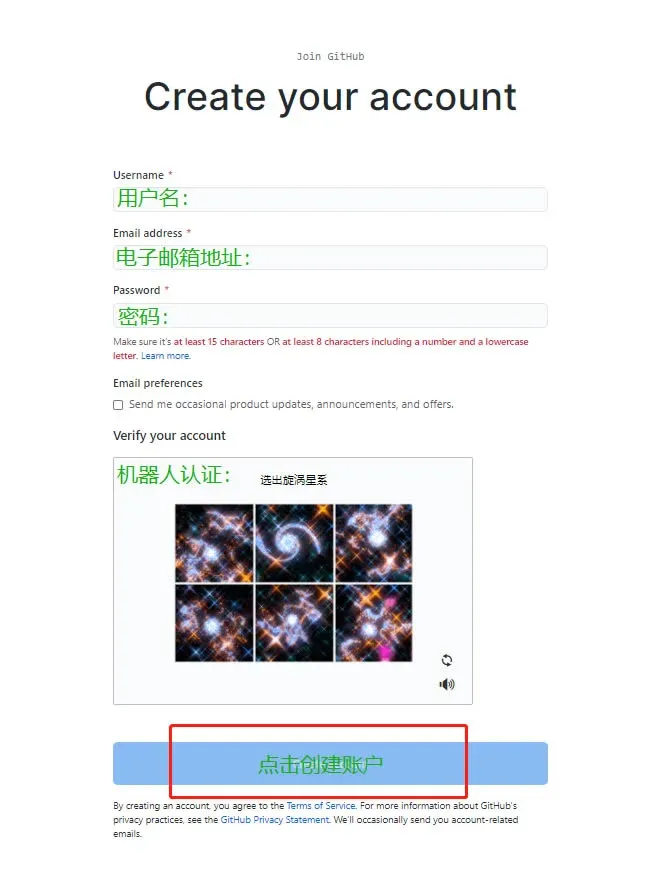
- Go to the GitHub homepage (https://github.com/) and click Sign up in the upper‑right corner to start registration.
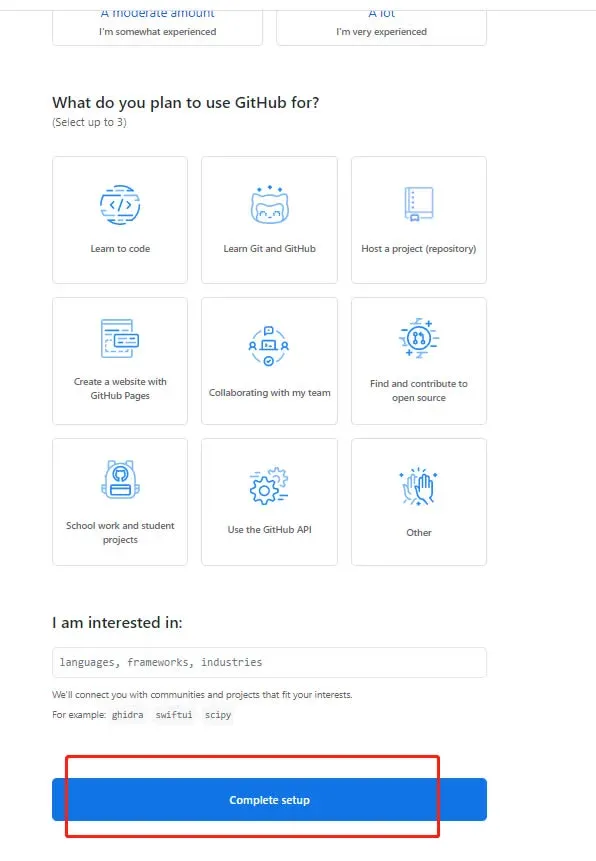
- Follow the on‑screen prompts to fill in a username, email address, and other required information, then click Next.
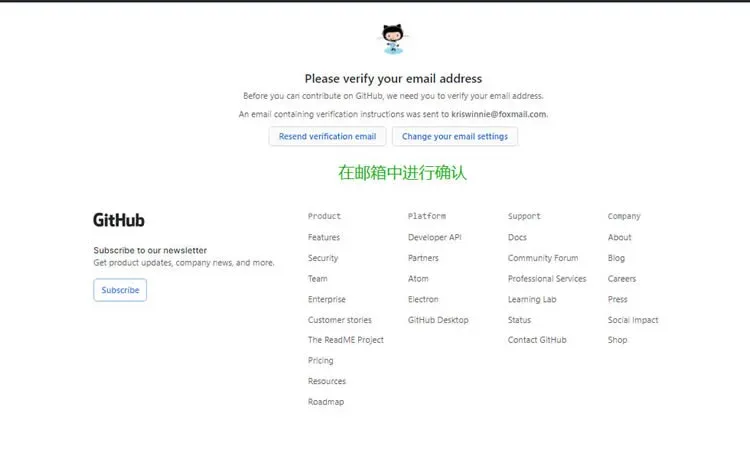
- Click Next again; the system will send an activation link to your email. Open the email and complete the confirmation.
- After successful authorization, copy the deposit address displayed in MetaMask (the receiving address) and paste it into the corresponding field on the faucet page.

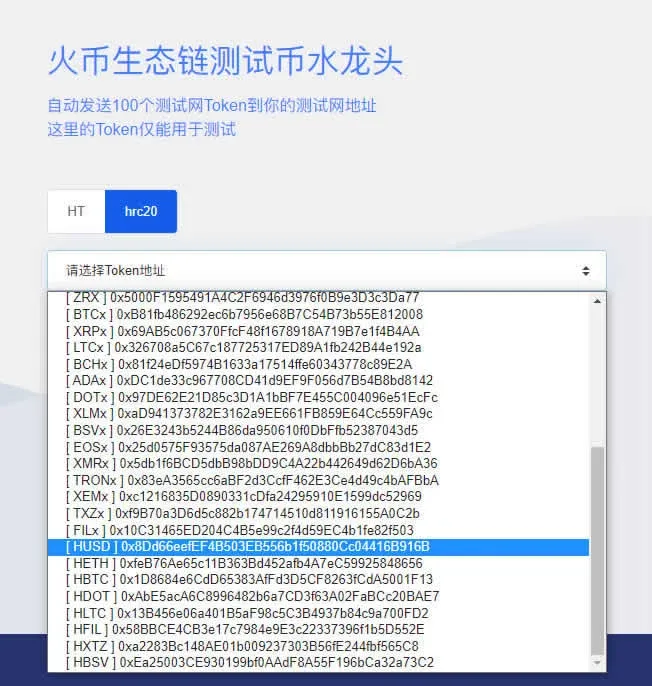
- In the token dropdown select HUSD (shown here as an example). After confirming, the system will send the corresponding test tokens to your test account.
- Once completed, you should see the received test tokens in your MetaMask wallet.
2. Configuring the Test RPC Network
- Open MetaMask (the Fox wallet) and, in the network list, select Custom RPC, as shown:

- Fill in the custom network information. It is advisable to use an easily recognizable name such as HECO Testnet. The parameters are:
- Network Name: HECO Testnet (you may rename it)
- New RPC URL: `https://http-testnet.hecochain.com`
- Chain ID: `256`
- Currency Symbol: `HT`
- Block Explorer URL: `https://scan-testnet.hecochain.com`
- After saving, MetaMask will automatically switch to the newly added HECO testnet. You can now use the test tokens obtained earlier for contract calls, token transfers, or other experiments.
Note: The token names mentioned in this article are for testing purposes only. Refer to official announcements for the correct symbols once the network goes live.
Important: Cryptocurrency gains may be taxable in your jurisdiction; please consult a tax professional for guidance. When dealing with fiat on‑ramps, the global market typically uses USD and SEPA/SWIFT transfers. U.S. users should use Binance.US rather than the global Binance platform.
---
That concludes the full step‑by‑step guide for configuring the HECO testnet RPC in MetaMask and obtaining test tokens. For more tips on using the Fox wallet, follow Bitaigen (比特根) for upcoming articles.
💡 Register on Binance with referral code B2345 for the maximum trading fee discount. See Binance complete guide.


