 Bitaigen Research
 Many beginners believe that mining Bitcoin with a home computer has become an impossible fairy tale. However, in this article, we will break this conventional assumption and provide readers with an ingenious "workaround" path: utilizing your home computer's CPU to mine Monero (XMR) and then securely swapping it for Bitcoin (BTC). As a complete step-by-step illustrated tutorial for absolute beginners, we will not only break down the necessary preparations but also guide you hand-in-hand through configuring your wallet and software, helping you easily take your first practical steps into the world of cryptocurrency.
How to Mine Bitcoin (Home Windows PC Mining) Step-by-Step Illustrated Tutorial
Due to hardware and computational power (hashrate) limitations, home Windows computers cannot directly and efficiently mine Bitcoin. The current mainstream alternative is to utilize your computer's CPU to mine Monero (XMR), a cryptocurrency with a much more CPU-friendly mining algorithm, and then use a cryptocurrency wallet to swap it for Bitcoin. This indirectly achieves the goal of mining Bitcoin using a standard home computer.
---
Preparations
Before we begin mining, we need to prepare the following three core components:
- Cryptocurrency Wallet: Similar to a digital bank account, this is used to receive, store, and transfer your mining earnings.
- Mining Rig: The hardware device that performs the mathematical calculations. In this tutorial, we will use a standard home Windows computer.
- Mining Software: The tool used to call upon your computer's CPU computational power to perform cryptographic hashing calculations.
*Note on Taxes: Depending on your local jurisdiction (such as the IRS in the United States or HMRC in the United Kingdom), cryptocurrency mining earnings and token swaps may be treated as taxable events. It is highly recommended to keep accurate records of your mining income and consult a local tax professional regarding your reporting obligations.*
---
Step 1: Configure Your Cryptocurrency Wallet
To securely receive your mining payouts, we must first configure a crypto wallet that supports multiple assets. Note: This tutorial simplifies the wallet creation process to help absolute beginners get started quickly and smoothly.
1. Create a Basic On-Chain Account
First, we will use the on-chain wallet tool WalletUsing to generate a basic account:
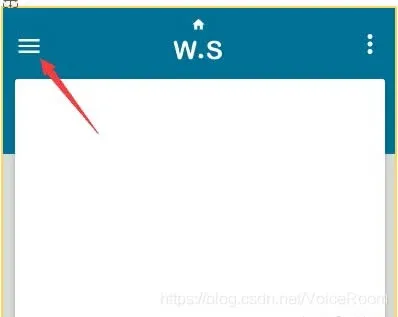
- Open the website `WalletUsing.com` and click on the menu bar (the three-line hamburger icon) in the upper left corner:
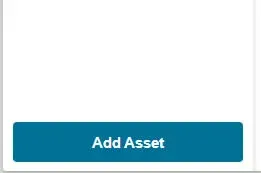
- Click on Add Asset:
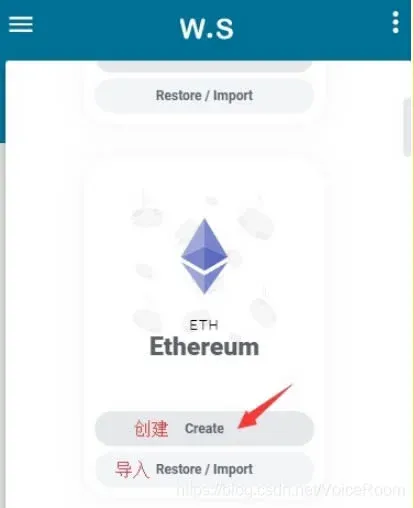
- From the list of supported assets, select any coin and click the Create button below it:
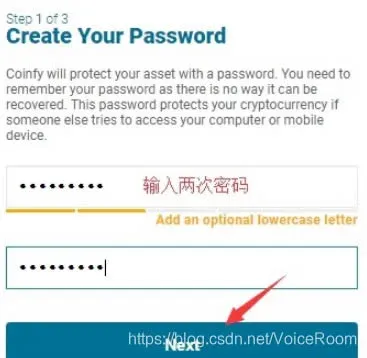
- Set a local operational password (for temporary setup, you can use a simple password like 123456789), then click Next:
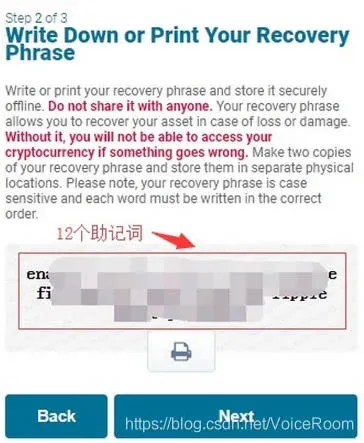
- The system will generate a 12-word Mnemonic Phrase (also known as a seed phrase). Please write these words down on a physical piece of paper and keep them in a safe place. This phrase is the ultimate and only credential to recover your wallet assets if your device is lost or damaged. Never share it with anyone.
2. Download and Install the Exodus Wallet
Next, we will use Exodus, a highly popular and user-friendly multi-chain, non-custodial wallet, to manage and swap our digital assets.
- Visit the official Exodus website: `www.exodus.io`
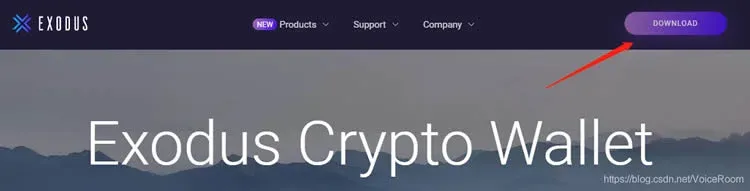
- Choose the Windows version to download and install. (If the download speed is slow, you may use a network accelerator or VPN).
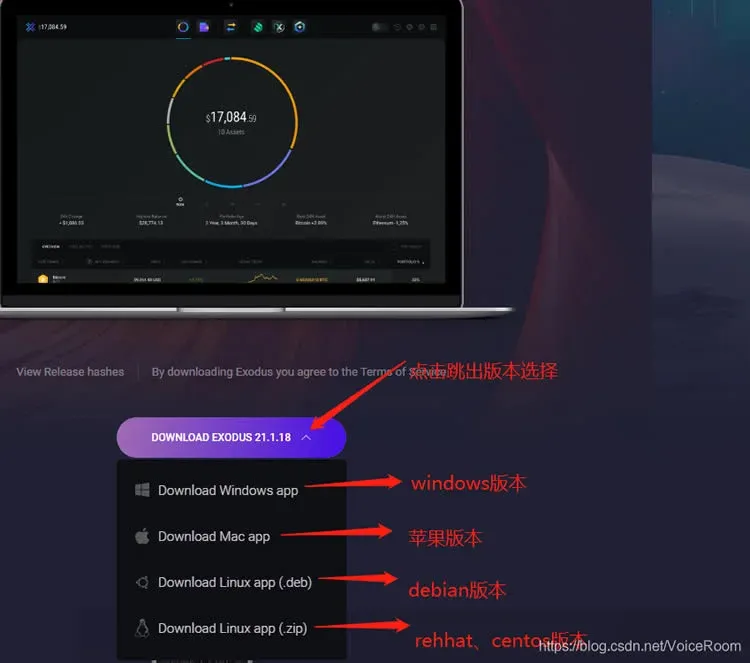
- During the installation process, if your Windows security software or third-party antivirus program pops up a warning, select "Allow to run" or "Trust this program."
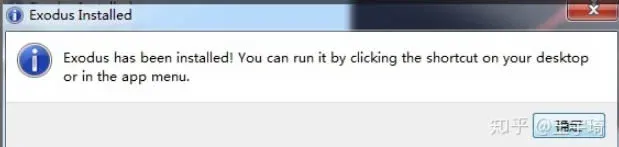
- Once the installation is complete, double-click the Exodus icon on your desktop to open the application:

- Click on the Restore from Backup option on the main interface:
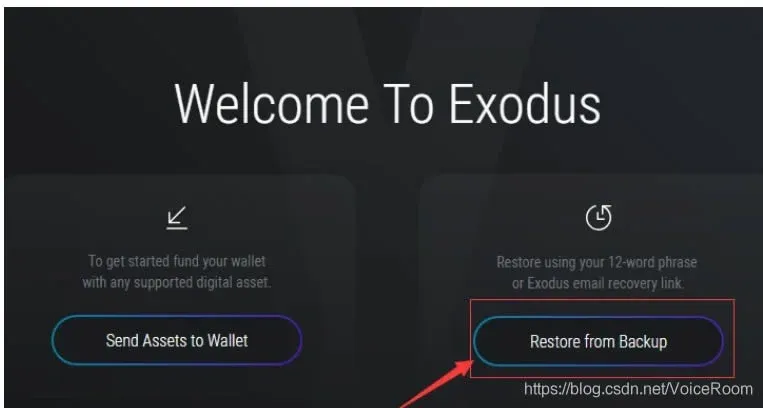
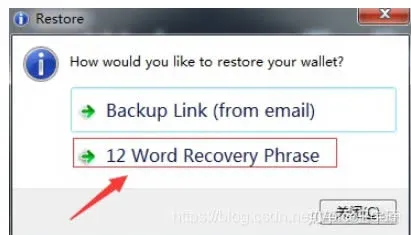
- Select 12 Word Recovery Phrase (to restore your wallet using the 12 words you wrote down earlier):
- The wallet interface will temporarily close, and a secure input window will appear:
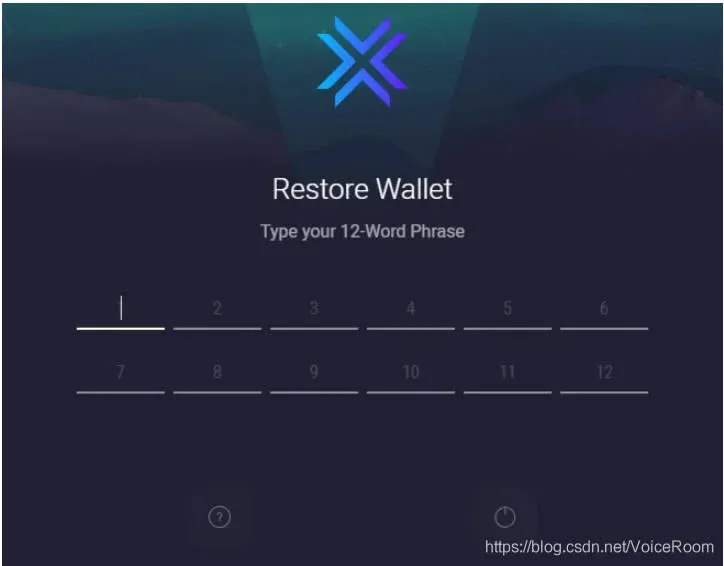
- Type in the 12 mnemonic words you backed up from WalletUsing in their exact sequential order (or copy and paste them if you have them temporarily copied):
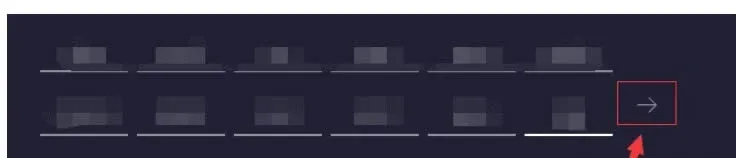
- Once all words are entered correctly, click the arrow icon on the right to proceed:
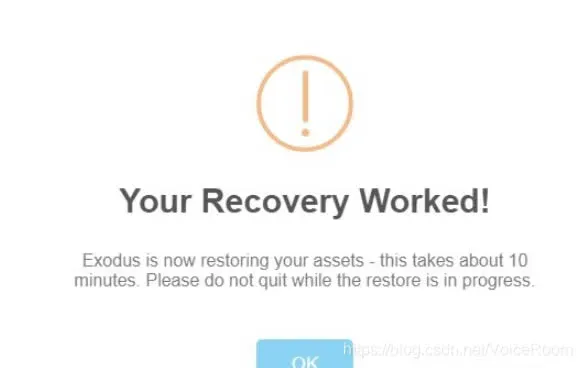
- Click OK and wait patiently for a few minutes. The wallet will automatically synchronize and scan the blockchain for your on-chain balances. Once finished, a success screen will appear:
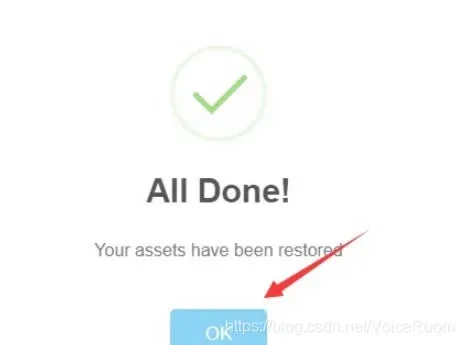
- Click OK once more to finalize the import process. You have now successfully configured your very own multi-currency non-custodial wallet.
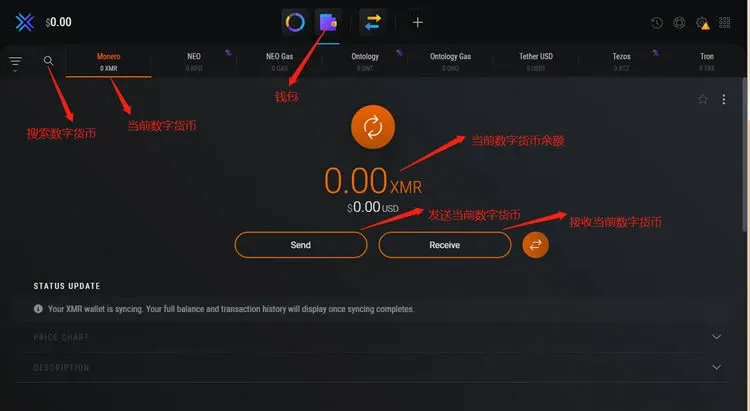
3. Get Your Bitcoin Receiving Address
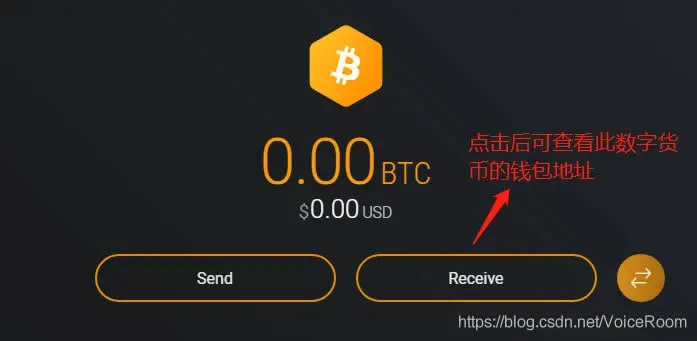
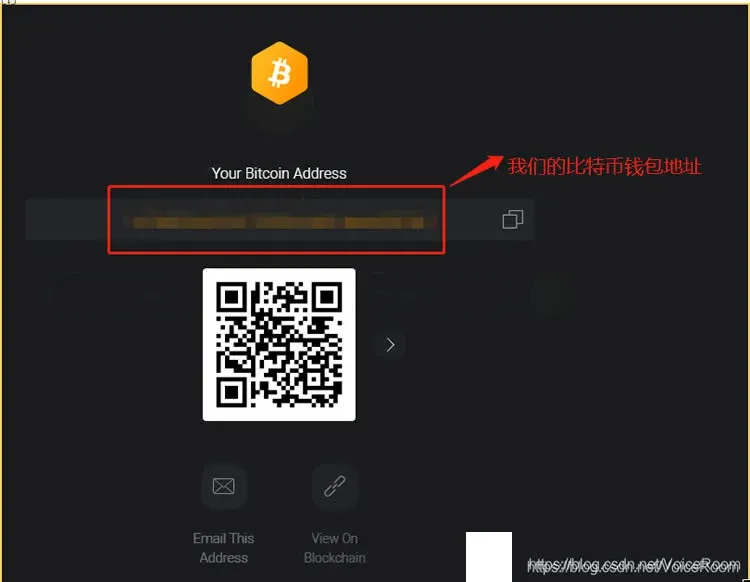
In the search bar of the Exodus home screen, type "BTC" or "Bitcoin":
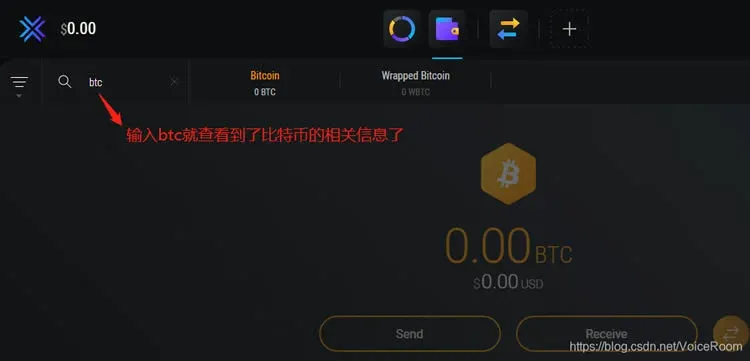
Click on Receive to view and copy your unique Bitcoin Address. Your future mining earnings will eventually be swapped and transferred directly to this address.
---
Step 2: Windows PC Mining Operation
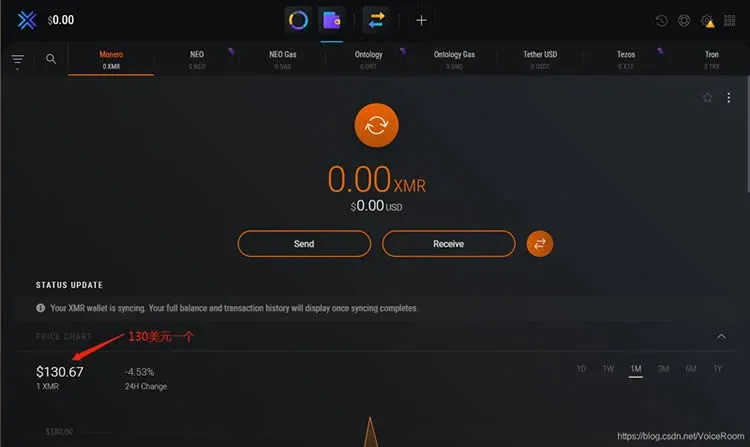
Because the total global hashrate of the Bitcoin network is incredibly high, it is virtually impossible to mine Bitcoin directly using a standard home computer CPU. Therefore, we use an alternative strategy: we first mine Monero (XMR), which uses the RandomX algorithm designed specifically to be resistant to ASIC mining machines and highly friendly to consumer-grade CPUs. Once we accumulate Monero, we can easily swap it for Bitcoin. At current market rates, Monero trades at roughly $120 to $130 USD per coin.
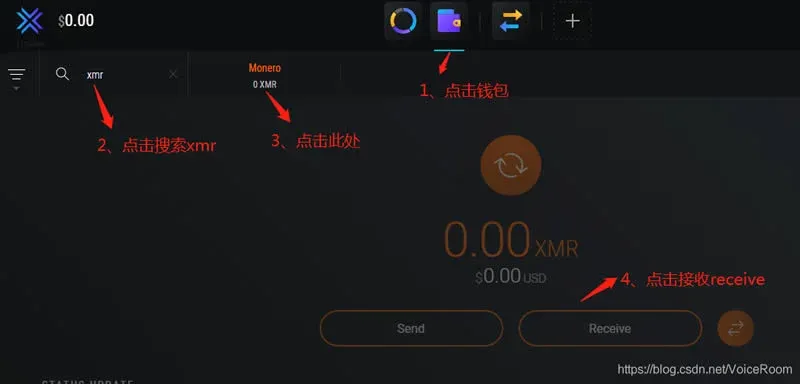
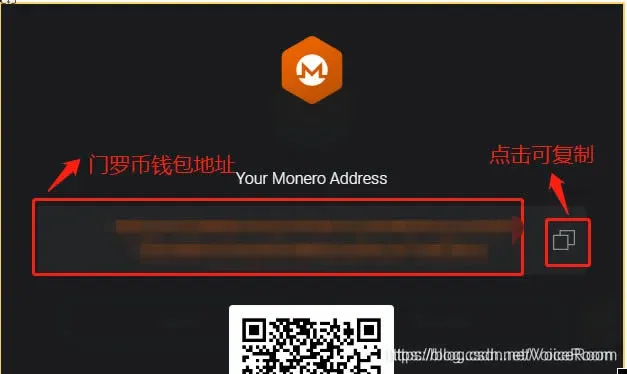
In your Exodus wallet, search for XMR (Monero), click on Receive, and copy your Monero wallet address (you will need this when configuring the mining software in the next steps).
---
Step 3: Download Your Mining Tool
We will use XMRig, the most popular, highly optimized, and open-source CPU mining software (which boasts nearly 4,000 stars on GitHub).
- Go to the official XMRig GitHub Release page:

- Find the zip file designated for Windows (for example,
Related Reading
💡 Register on Binance with referral code B2345 for the maximum trading fee discount. See Binance complete guide.