 Bitaigen Research
 In this article we walk you through, step by step, how to connect the HALO mainnet to the MetaMask “fox” wallet. The illustrated guide covers network switching, RPC addition and chain‑information configuration, saving you time and effort. It is suitable for both newcomers and users who already have a wallet. Follow our procedure to finish the setup quickly and start interacting with the chain securely.
MetaMask “fox” wallet tutorial for configuring a HALO node
Configuring a HALO node in the MetaMask fox wallet only requires switching the network, adding a custom RPC, and filling in the HALO mainnet name, RPC URL, ChainID, and symbol before saving.
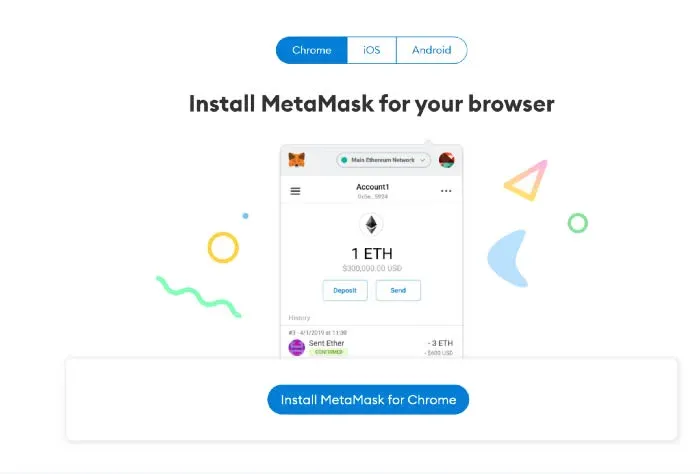
- Visit the official MetaMask website and download the extension or mobile app, which is available for Chrome, Android and iOS.
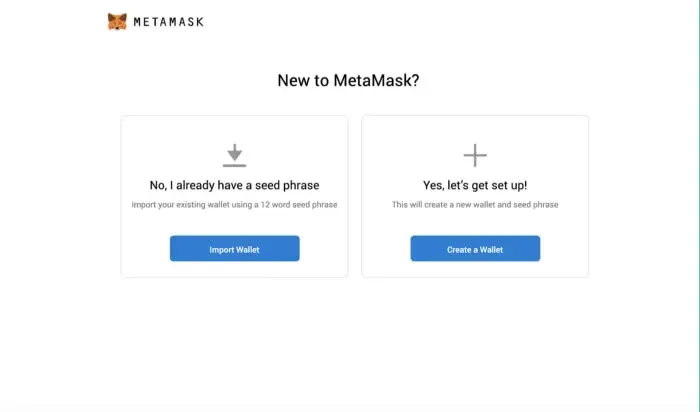
- Open MetaMask, click “Create a wallet” to generate a new wallet, or choose “Import wallet” to bring in an existing one.
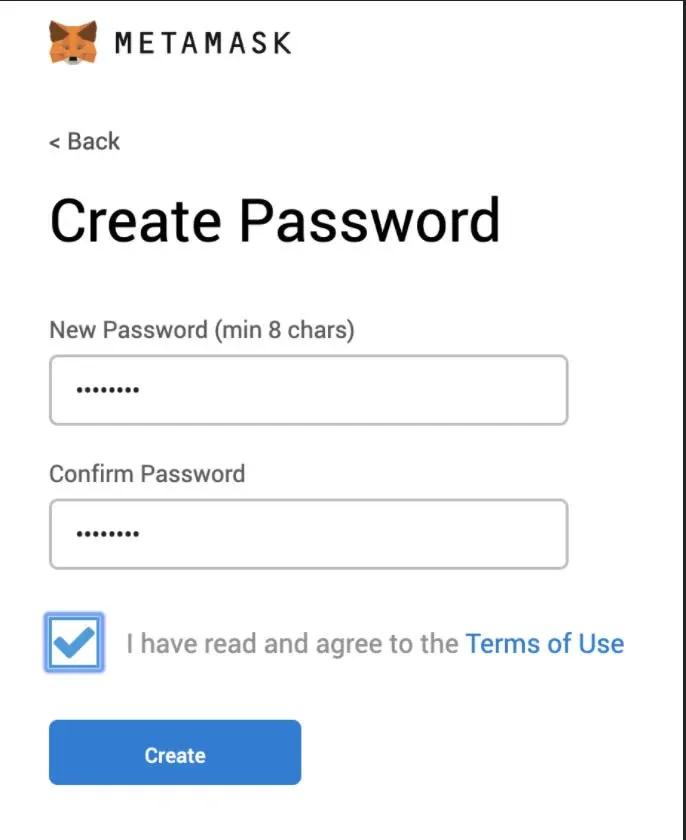
- Set a password that is at least 8 characters long, then click “Create”.
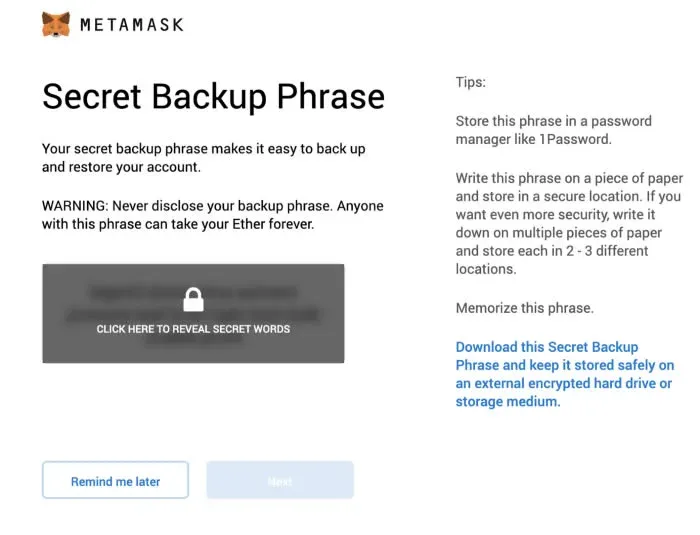
- Back up the seed phrase and store it securely.
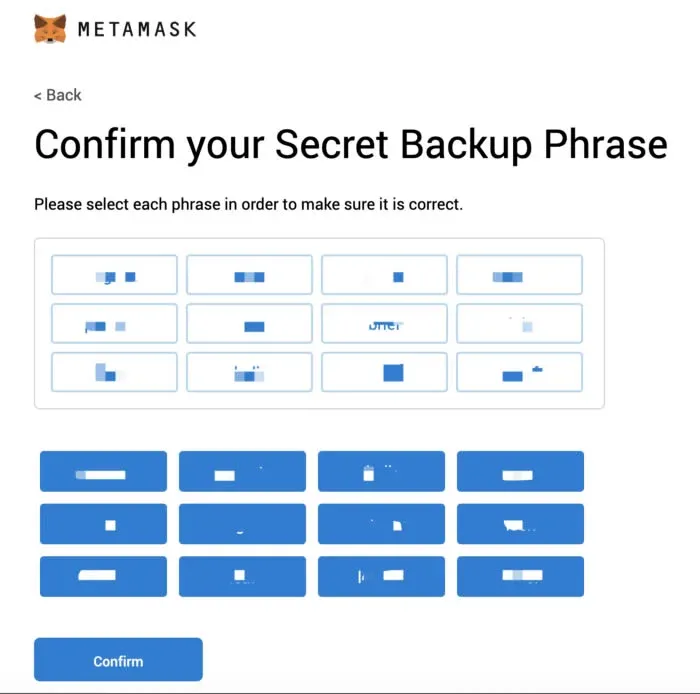
- Click the seed words in the original order to confirm they are correct, then press “Confirm”.
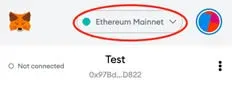
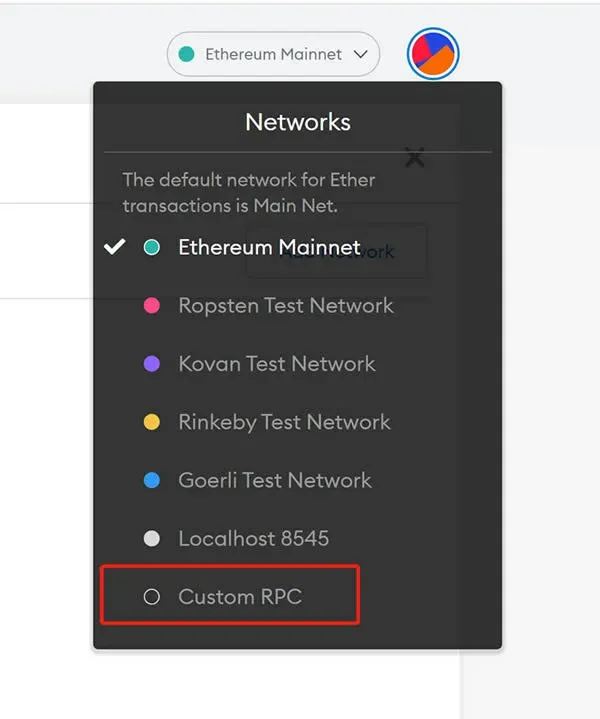
- Add the HALO network. Click the Ethereum Mainnet label at the top left, and in the dropdown select “Add Network” → “Custom RPC”.
- On the Custom RPC screen, enter the HALO network details and then click “Save”.
- Network Name: HALO Mainnet
- New RPC URL: `https://nodes.halo.land` or `https://nodes1.halo.land` (dedicated Southeast‑Asia node)
- Chain ID: 1280
- Currency Symbol: HO
- Block Explorer URL: `https://browser.halo.land/`
- Switch the active network to the newly added HALO Mainnet and verify that the wallet is connected successfully.
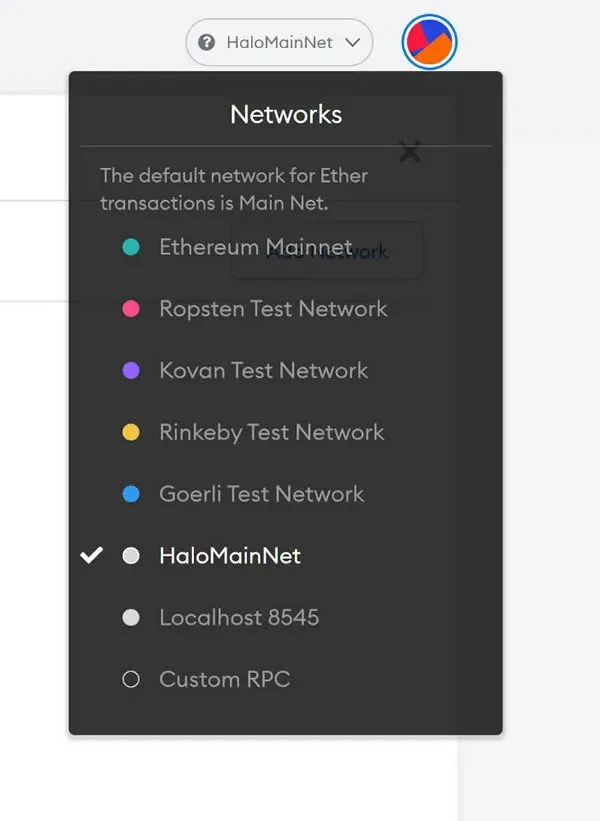
Congratulations! Your MetaMask fox wallet is now linked to the HALO network. For additional configuration tips and advanced usage, keep an eye on tutorials from Bitaigen (比特根).
Related Reading
💡 Register on Binance with referral code B2345 for the maximum trading fee discount. See Binance complete guide.