
We have carefully compiled a complete step‑by‑step guide to the Ledger hardware wallet for the Bixia editorial team, helping beginners quickly understand its security principles and master every step from device connection and PIN verification to asset synchronization, sending and receiving. This article also offers troubleshooting ideas for common issues, suitable for users who wish to manage digital assets securely.

Ledger Hardware Wallet Beginner Operation Tutorial
Before starting the actual procedure, get a clear understanding of the basic principles of the Ledger hardware wallet. Essentially, it is a physical device designed for the secure storage of private keys, and all balance checks and transaction initiations must be used together with appropriate software. Users can choose the official Ledger client or third‑party applications, such as the widely used myetherwallet.com or the Parity wallet for Ethereum users.
---
How to Get Started Quickly?
Operation Overview:
- Identify the type of digital asset you intend to manage; the corresponding App is described later.
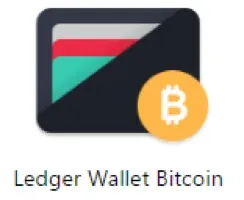
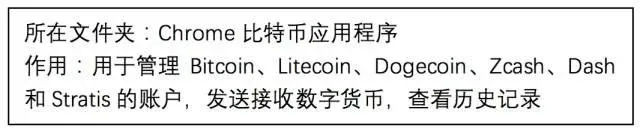
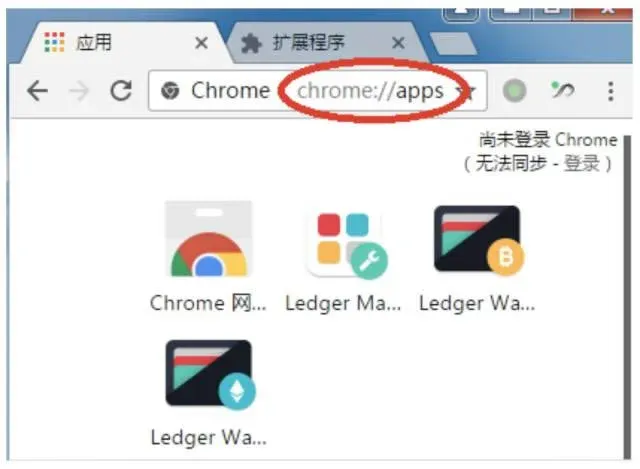
- Open Google Chrome on your computer, type `chrome://apps/` in the address bar, locate and launch the appropriate Ledger application (e.g., choose Ledger Wallet Bitcoin if you want to work with Zcash).
- Connect the Ledger device to the computer via the USB cable, then enter the previously set PIN code.
- On the hardware wallet, use button 1 or button 2 to scroll through the installed cryptocurrency Apps; after selecting Zcash, press both buttons simultaneously to enter the App. The computer will begin synchronizing wallet data.
- If the synchronization is unusually slow, try reconnecting using a VPN or proxy.
- Once synchronization finishes, the computer interface will display send/receive functions, allowing you to transfer or receive Zcash.
- After completing the operation, simply unplug the USB cable.
---
What’s Inside the Box?
After opening the package, you will find the following core components:
- The hardware wallet unit
- USB connection cable
- Backup record card (used for handwritten recording of the recovery seed)
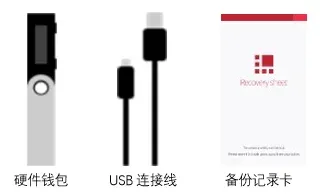
All other items included are optional accessories; you can decide whether to use them based on personal preference.
When using the device for the first time, two major configuration steps are required: setting up the Ledger unit itself and preparing the Chrome browser environment. The following sections explain each part separately.
---
How to Configure the Ledger Hardware Wallet?
Device Appearance and Button Description

)
- Button 1 and Button 2 functions:
- Pressing either button alone lets you scroll through lists, change values, or confirm transactions.
- Pressing both buttons together confirms the current selection, moves to the next screen, or opens a specific cryptocurrency App.


Initialization Procedure
- Plug the USB cable into your computer and connect the Ledger device. The screen will display a “Welcome” message.
- Press both Button 1 and Button 2 to move to the next screen.
- When prompted “Configure as new device?”, press Button 2 to start device initialization.
- The next prompt reads “Choose your PIN code”. Press both buttons again to begin PIN setup. Choose a PIN length between 4 and 8 digits; each digit is selected using Button 1 (decrease) and Button 2 (increase), then confirm with both buttons. After entering the final digit, press both buttons once more to finish the PIN entry.
- The device will ask “Confirm your PIN code”; repeat the same entry to verify the PIN.
- The following screen says “Write down your recovery phrase”. The system will sequentially display 24 recovery words; use the backup record card to write them down manually. Navigate forward with Button 2, backward with Button 1, and after recording the 24th word press both buttons to finish.
Tip: Keep this card in a safe place. If it is lost, even recovering the device will not restore your assets.
- The system will then perform a “Confirm your recovery phrase” check, randomly selecting a few words for you to verify. Choose the correct words with Buttons 1/2 and confirm with both buttons.
- When “Configuration…” appears and loading completes, the screen will show “Your device is now ready”. Press both buttons again; configuration is complete and the device will list the installed Apps.
---
How to Set Up the Chrome Browser?
Required File Downloads
All necessary software can be obtained from the following link:
http://pan.baidu.com/s/1kV9JBAv
Three Chrome extensions are required, each corresponding to a different cryptocurrency application.


Installation Steps
- Install Google Chrome
- Locate the installer inside the “Chrome Browser” folder and follow the default installation process.
- Load the Extensions
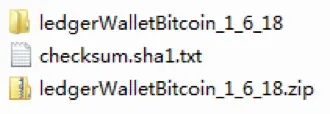
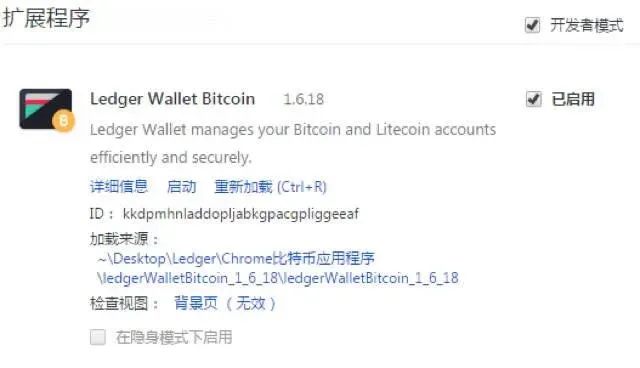
a. Unzip each extension package; for example, the Bitcoin extension will produce a folder named `ledgerWalletBitcoin_1_6_18`.
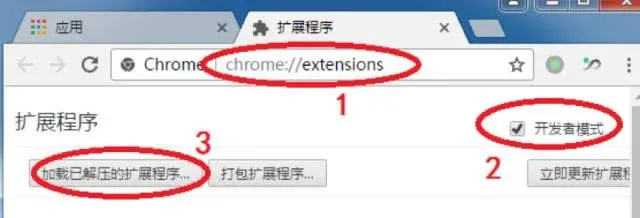
b. In Chrome’s address bar, type `chrome://extensions/` to open the extensions management page.
c. Check the “Developer mode” box, then click “Load unpacked”.
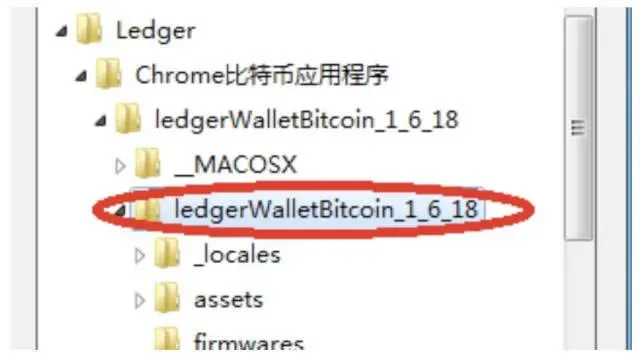
d. Choose the appropriate extension folder (pay attention to the folder hierarchy). After loading, an icon appears on the page, indicating successful installation.
- Repeat the above process for the remaining two extensions. Once all three are loaded, navigate to `chrome://apps/` and you will see the list of installed Ledger applications.
---
The above constitutes the complete workflow from unboxing to everyday use of the Ledger hardware wallet. For additional practical tips or an in‑depth exploration of other Ledger features, feel free to follow the upcoming special articles from Bitaigen.
Related Links:
- Purchase Ledger Bitcoin hardware wallet – step‑by‑step tutorial
Related Reading
- Crypto Wallets: imToken, Ledger, Trezor, MetaMask
- imToken Cold & Watch‑Only Wallet Setup Guide
- Top Tips to Secure Your Cryptocurrency Wallet in 2024
💡 Register on Binance with referral code B2345 for the maximum trading fee discount. See Binance complete guide.


