 Bitaigen Research
 Ledger released an important update on July 9, shifting away from the previous Chrome‑extension workflow and consolidating all functions into a single desktop client—Ledger Live—making the Ledger Nano S considerably easier to use.
On Windows, macOS, or Ubuntu, download the Ledger Live client and follow the on‑screen wizard to initialize your device; the installation and initial configuration are then completed in a few steps.
In this article we provide a detailed walkthrough of the latest Ledger desktop client, Ledger Live, covering download, installation, and the first‑time setup process. We also outline the core advantages of hardware wallets and their ecosystem compatibility. With step‑by‑step guidance, even users who are new to hardware wallets can get started quickly and build a secure, reliable digital‑asset management framework.
Introduction to the Ledger Wallet
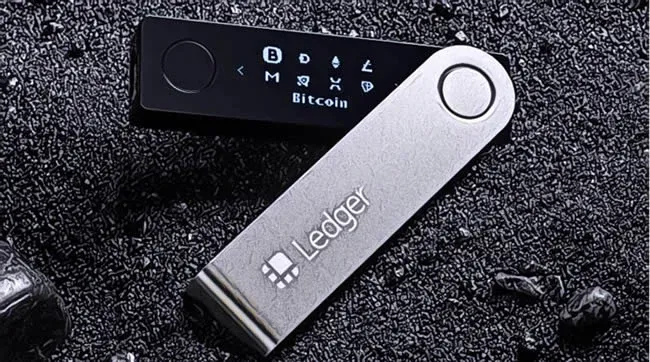
Ledger is the leading manufacturer of Bitcoin hardware wallets, offering trusted hardware‑security solutions for both individuals and enterprises. Built on smart‑card technology, Ledger hardware wallets provide the industry’s highest protection levels while maintaining strong usability and operability.
- Multifunctional: securely stores private keys and can be paired with software wallets to view balances and initiate transactions.
- Compatibility: supports Bitcoin, Ethereum and its platform tokens, Zcash, and other major assets.
- Open‑source: the core projects are publicly available on GitHub and accept community audits.
In addition to the official Ledger Live, users can connect their Ledger devices to other software wallets (such as MyEtherWallet, Parity) for flexible asset management.
Downloading and Installing the Ledger Live Client
Hardware and System Requirements
- One Ledger Nano S device;
- A computer meeting any of the following OS criteria:
- macOS 10.9 or later
- Windows 10 or later
- Linux Ubuntu 16.10 or later
- An available USB (or USB‑C) port;
- An active internet connection.
Installation Steps
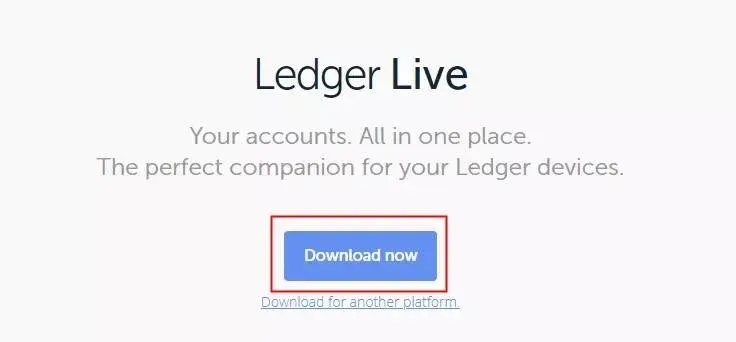
- Visit the official website `ledger.com/live` and download the installer package for your operating system;
- Double‑click the installer file and follow the prompts to complete the Ledger Live installation.
Tip: Some security software (e.g., 360) may mistakenly block the installer. Temporarily disable such software while installing, then re‑enable it after the process finishes.
Initial Configuration of the Ledger Live Client
1. Launch and Choose an Operation
- Double‑click to open Ledger Live;
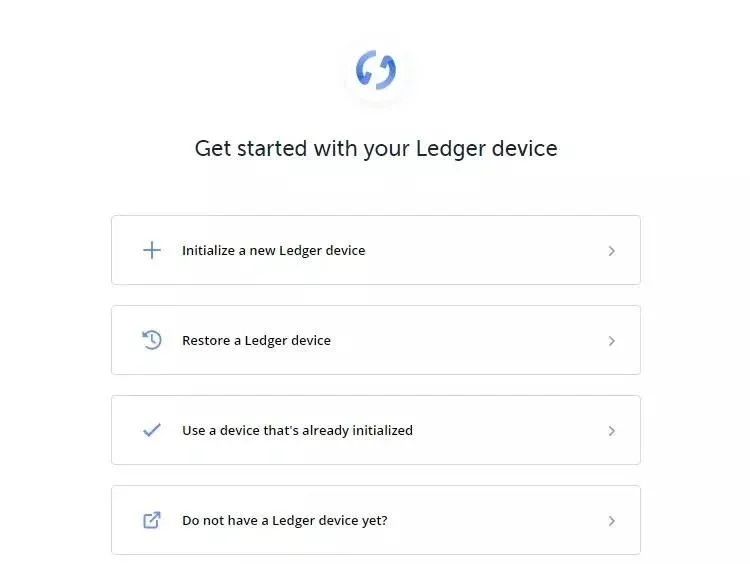
- Click “Get started”;
- If the device has not yet been initialized, select “Initialize a new Ledger device”;
- If you need to recover an existing recovery phrase, select “Restore a Ledger device.”
This guide uses “Initialize a new Ledger device” as the example.
2. Device Configuration
During the first run, the application guides you through the device initialization process. If the device has already been initialized, you can simply click “Continue” to proceed to the subsequent steps.
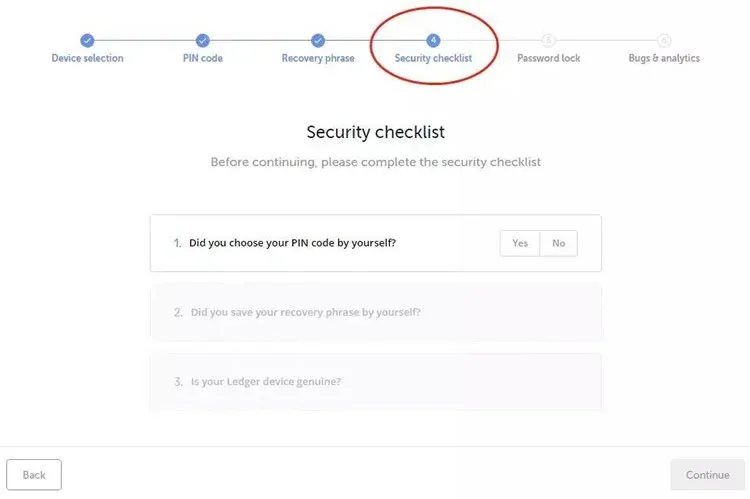
3. Security Checklist
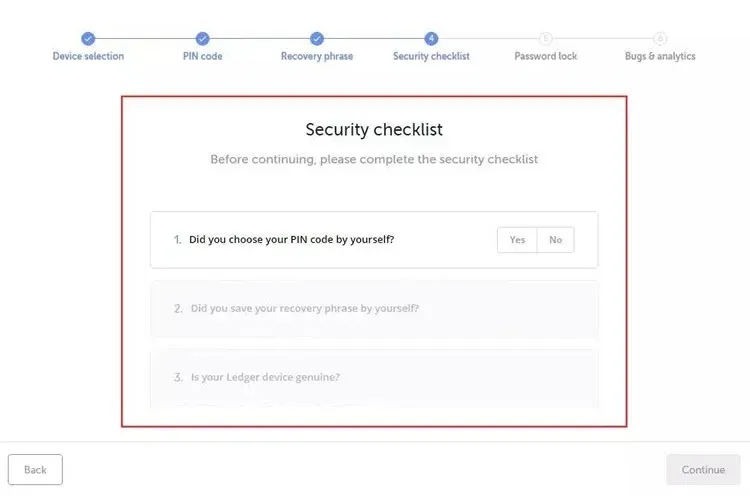
Completing the security checklist confirms that the device is in its highest‑security state. The checklist includes:
- Have you set a PIN code?
- Have you recorded the recovery phrase?
- Is the device a genuine Ledger device?
Answer “Yes” or “No” on the screen. If any of the items are incomplete, you will be prevented from moving forward.
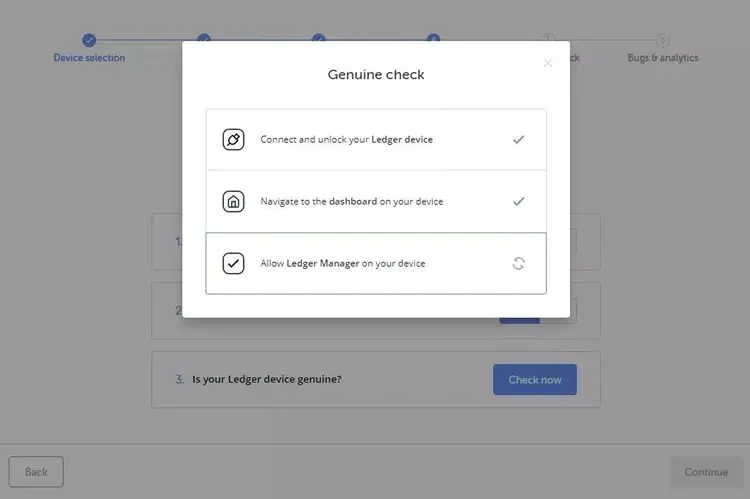
- For the third item, click “Check Now” to verify device authenticity. Only genuine Ledger devices possess an encrypted proof that connects to the Ledger Secure Service; devices that fail verification cannot connect to the server.
4. Set a Ledger Live Password (Optional)
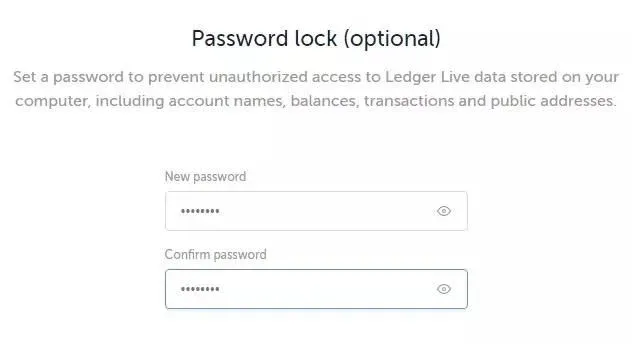
Creating a password enhances the privacy and security of your Ledger Live account. If you prefer not to set one, click “Skip this step.” If you choose to set a password, you must enter the same password twice to confirm.
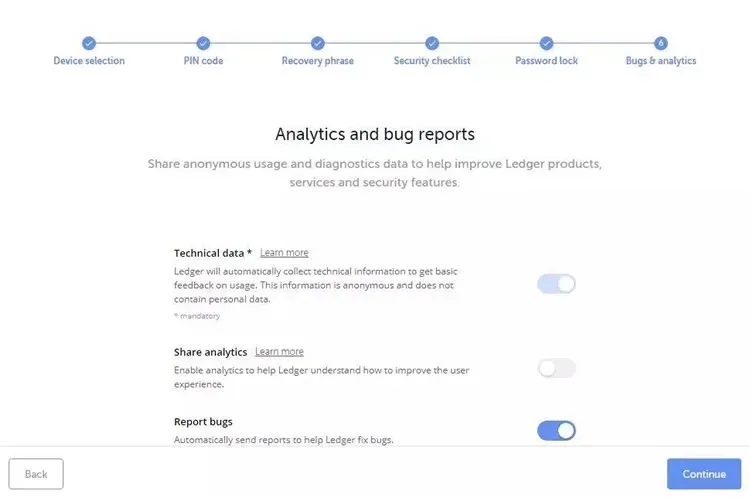
5. Data Sharing and Bug Reporting
Users can decide whether to share anonymous data with Ledger to help improve the product and services. Optional choices include:
- Report bugs: automatically send error reports when the application crashes;
- Share analytics: transmit usage‑statistics data to aid in optimizing the user experience.
After making your selections, click “Continue.”
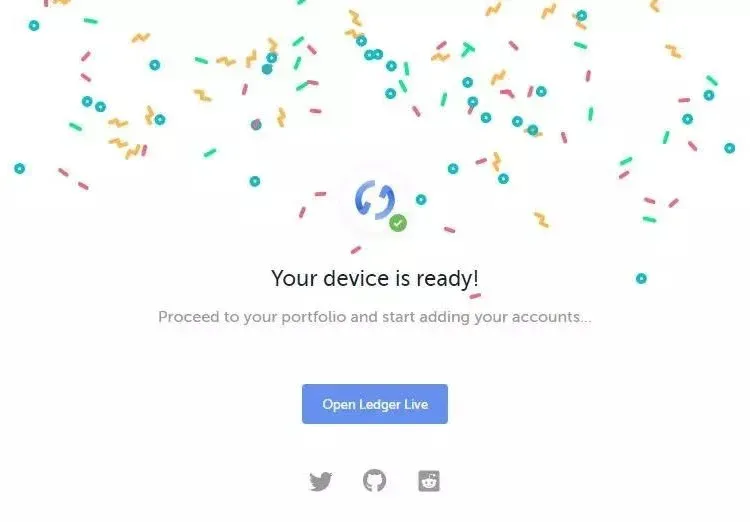
6. Finish the Initial Setup
When the configuration is complete, click “Open Ledger Live” to enter the wallet’s main dashboard and begin managing your digital assets.
Conclusion
The steps above constitute a complete guide to downloading, installing, and performing the first‑time configuration of the Ledger wallet Ledger Live client. For more Ledger usage tips, please follow other related articles from Bitaigen (BitRoot).
Note: Cryptocurrency transactions may be subject to tax in many jurisdictions. Users should consult local tax regulations or a qualified professional to determine any reporting obligations. In the United States, residents must use Binance.US for fiat on‑ramps/off‑ramps; globally, SEPA, SWIFT, and other standard banking channels are typically used for USD and other fiat transfers.
Related Reading
- Best Hardware Wallets 2024: Ledger, Trezor, OneKey & More
- Ledger Nano S Hardware Wallet Guide for Bitcoin Beginners
💡 Register on Binance with referral code B2345 for the maximum trading fee discount. See Binance complete guide.