 Bitaigen Research
 We systematically outline the registration, installation, and daily operation essentials for the MetaMask (commonly referred to as the “Fox”) wallet in this article, helping newcomers get up to speed quickly while avoiding typical pitfalls. Through detailed screenshots and explanations, you will master password‑based login, address copying, asset transfers, and later chapters cover seed‑phrase management and cross‑platform usage tips—worth a thorough read.
4. Basic Use of the Wallet
- After creating your wallet, do not arbitrarily delete the MetaMask extension from your browser. Whenever you need to access it later, simply click the fox icon in the top‑right corner of Chrome and enter the password you set to open the wallet instantly. If you accidentally uninstall the extension or need to use a different computer, you will have to re‑import the wallet using the seed phrase or private key.
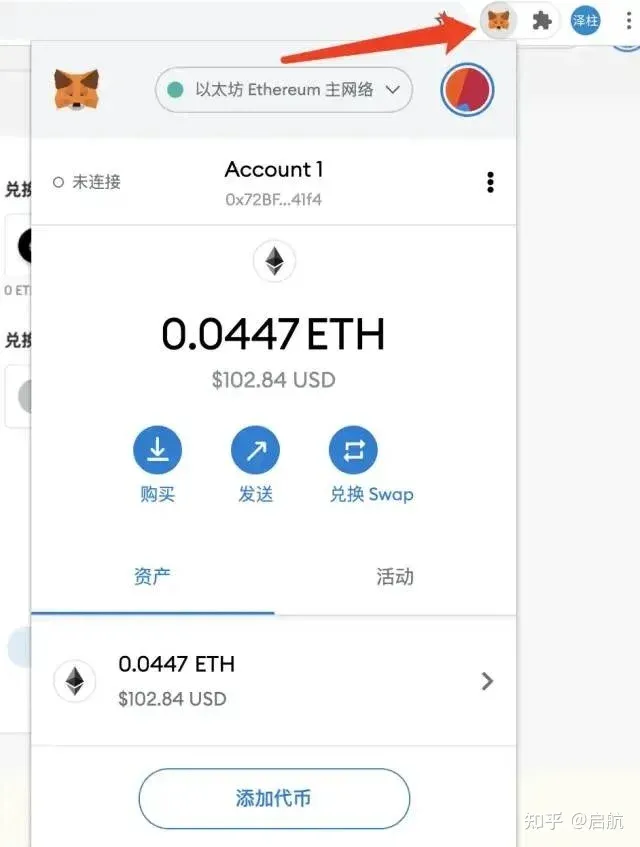
- Click Account1 to copy the current wallet address; this address serves as your digital‑currency account identifier. Whether you are sending funds to another wallet or moving assets between exchanges, you must use this address.
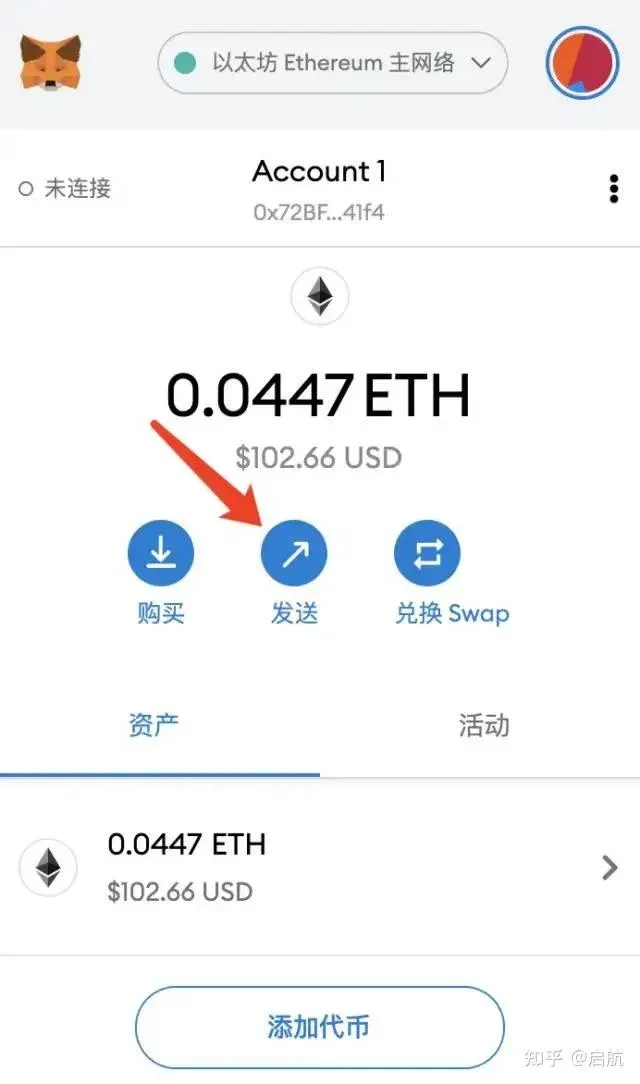
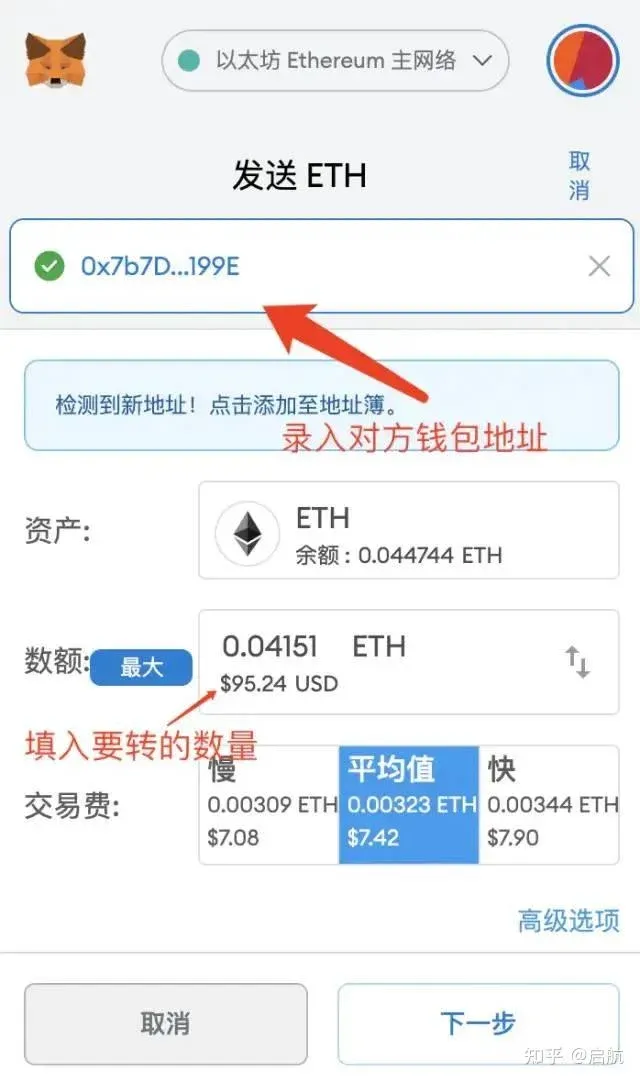
- To send assets to an exchange or another person's wallet, first click Send, fill in the recipient’s address and the amount in the pop‑up window, then click Next → Confirm and wait for the blockchain network to finalize the transaction.
Note: Crypto gains may be taxable in your local jurisdiction; consult a tax professional for guidance. If you need to convert the received crypto into fiat, you can withdraw USD via SEPA or SWIFT on supported exchanges. U.S. residents should use Binance.US rather than the global Binance platform.
---
3. Generating a Wallet
- Open MetaMask and follow the on‑screen prompts by clicking Get Started.
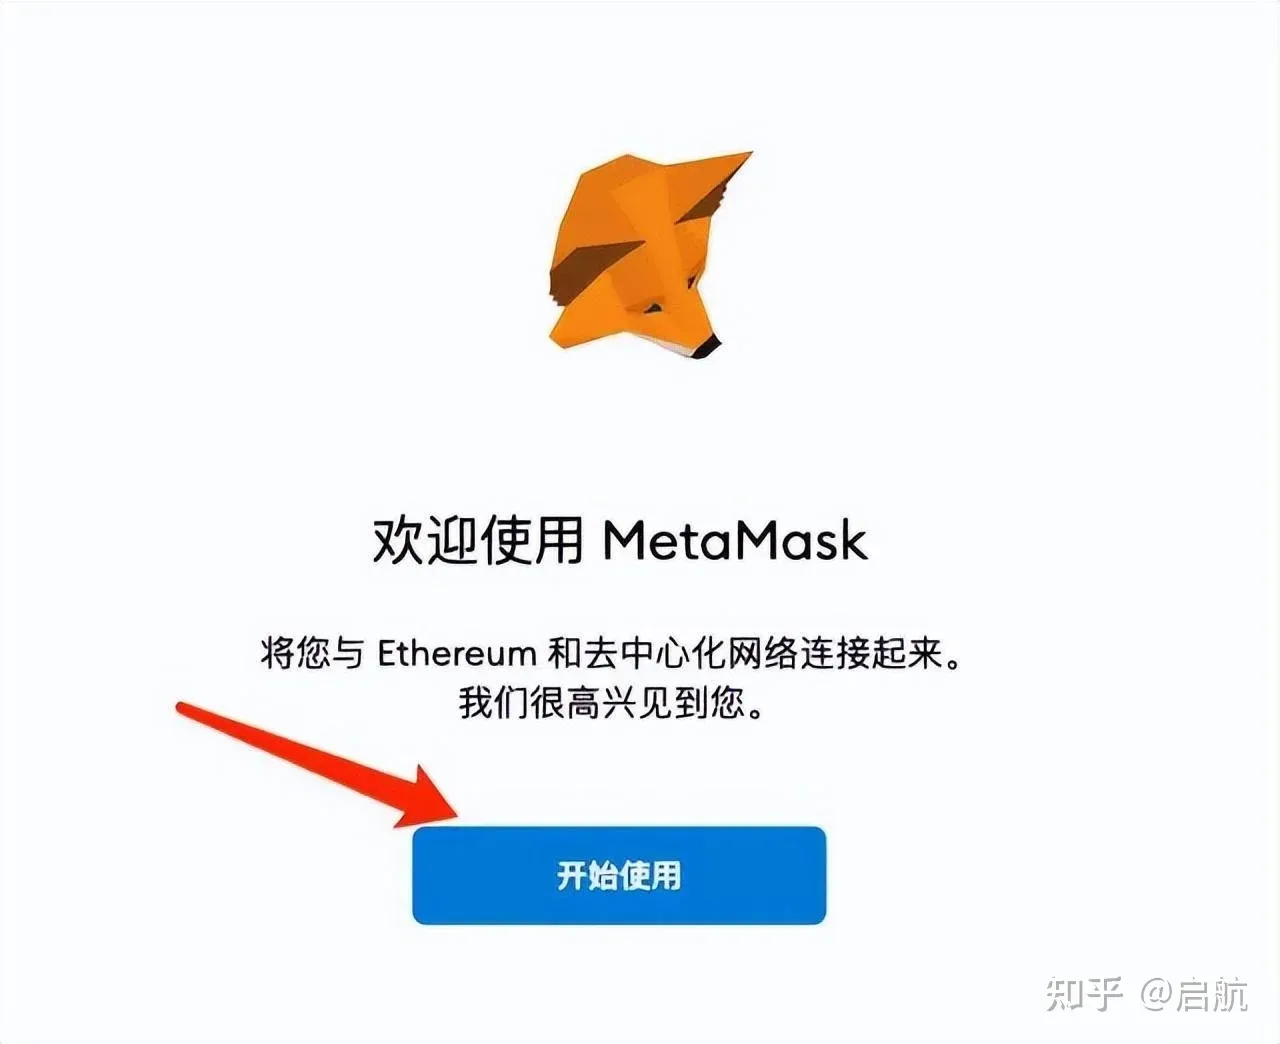
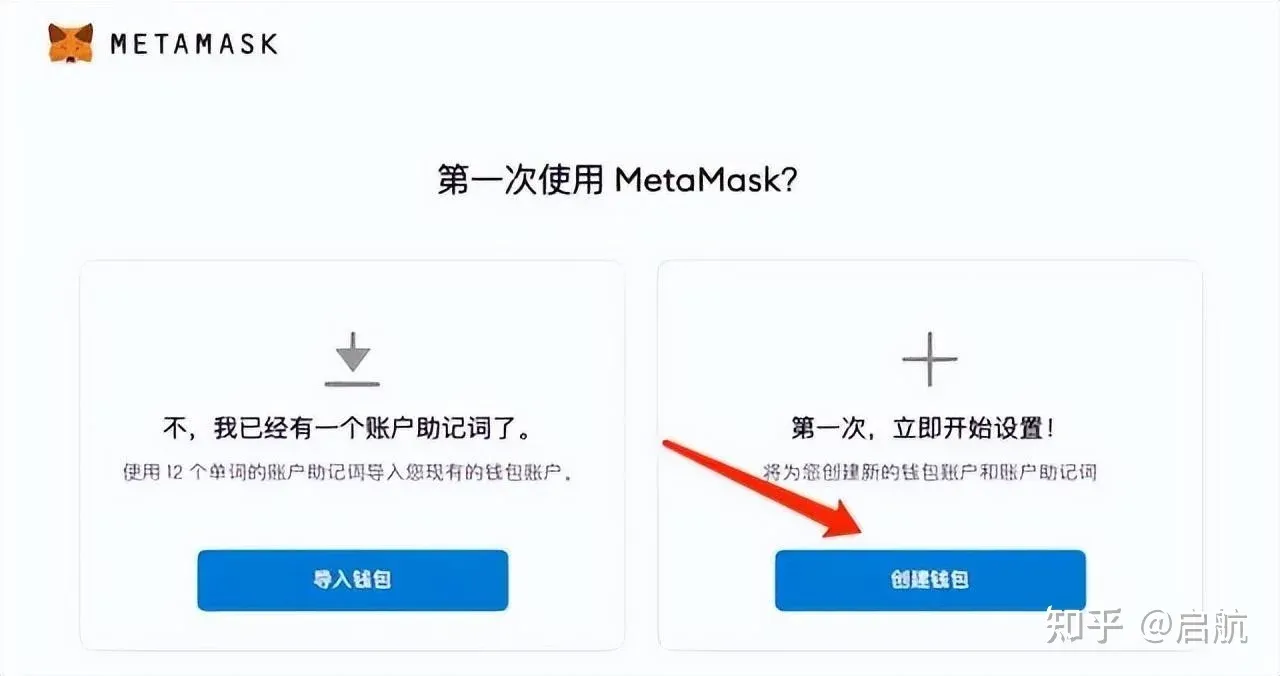
- If you already have a MetaMask account, choose the Import Wallet option on the left and restore it by entering your seed phrase; new users should click Create Wallet on the right.
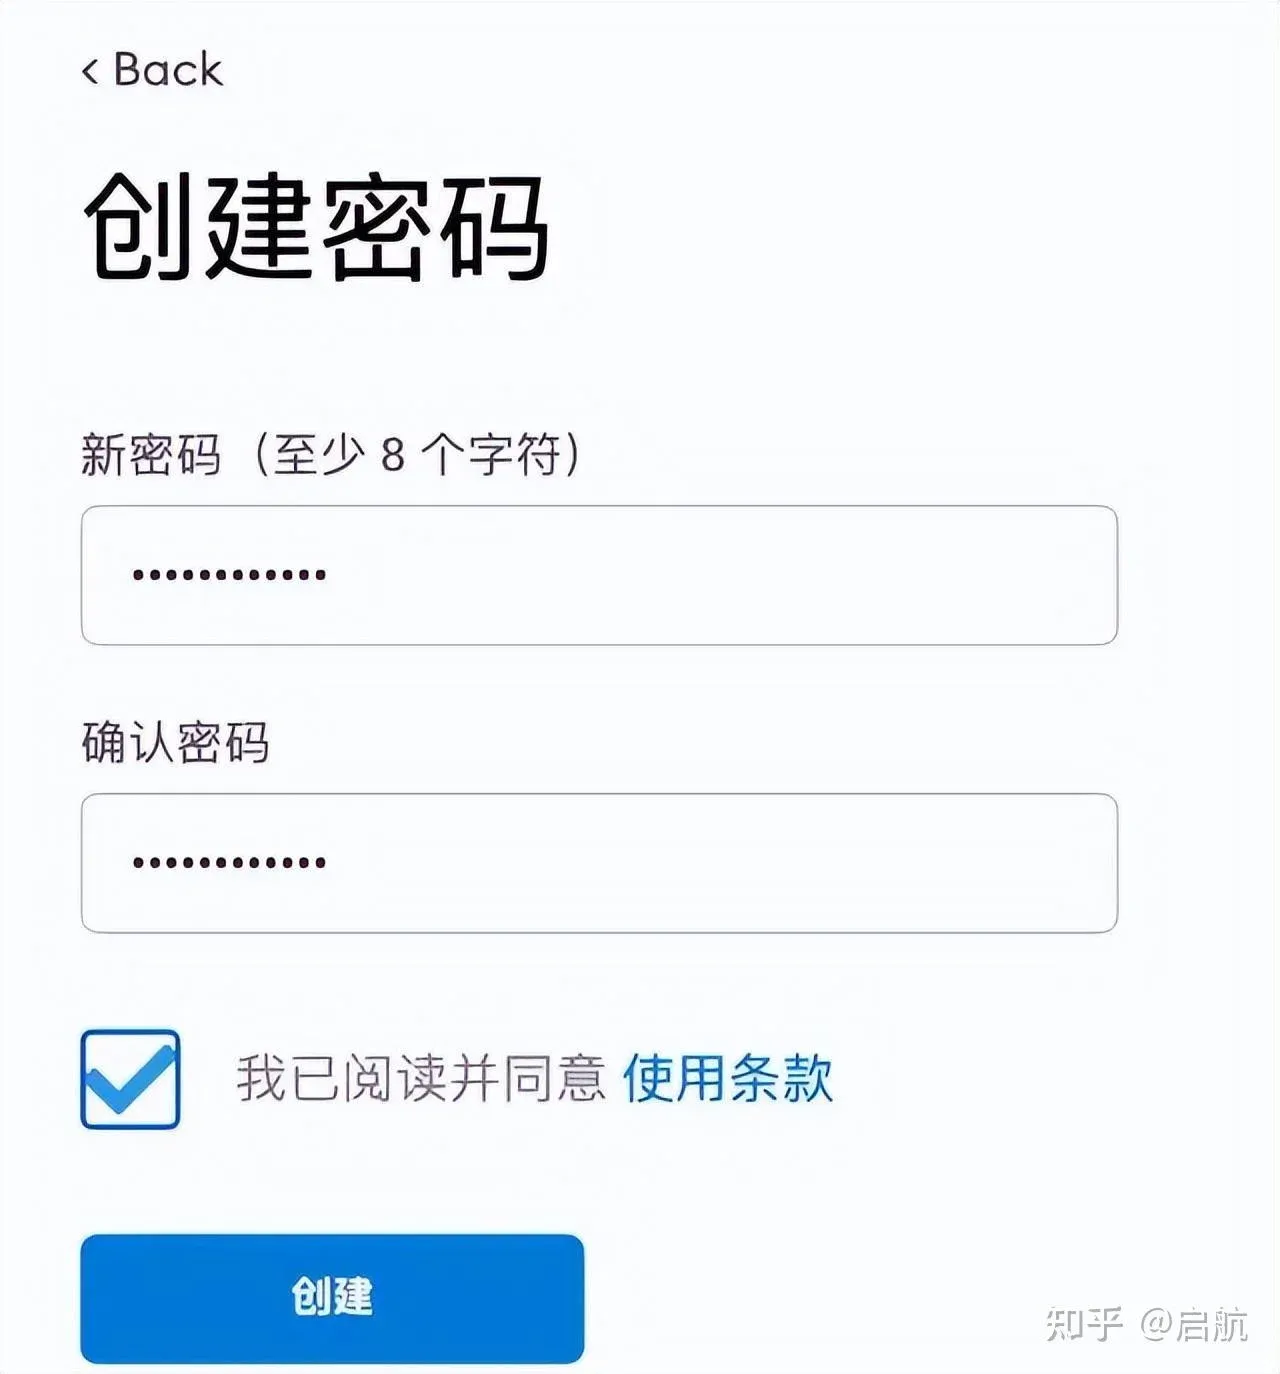
- Check the I Agree box, then set a strong login password (this password is separate from the seed phrase but must also be kept securely). Click Create when finished.
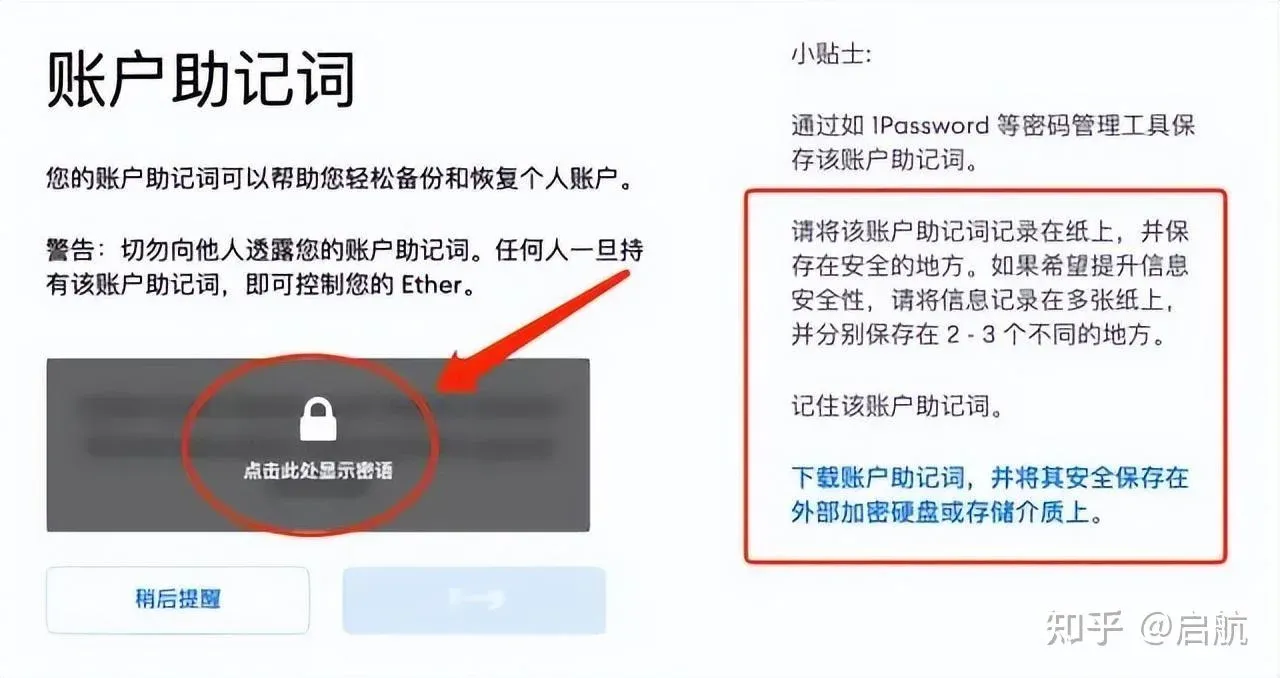
- You will see a Click to reveal seed phrase link; the system will generate a random 12‑word English seed phrase. This phrase is the only credential for recovering your wallet. Write it down on paper and store it in a safe location (ideally split across 2‑3 separate places). Do not save it as a photo or screenshot, as a compromised phone or malware could lead to theft of your assets. Neither MetaMask nor any third party can retrieve a lost seed phrase.
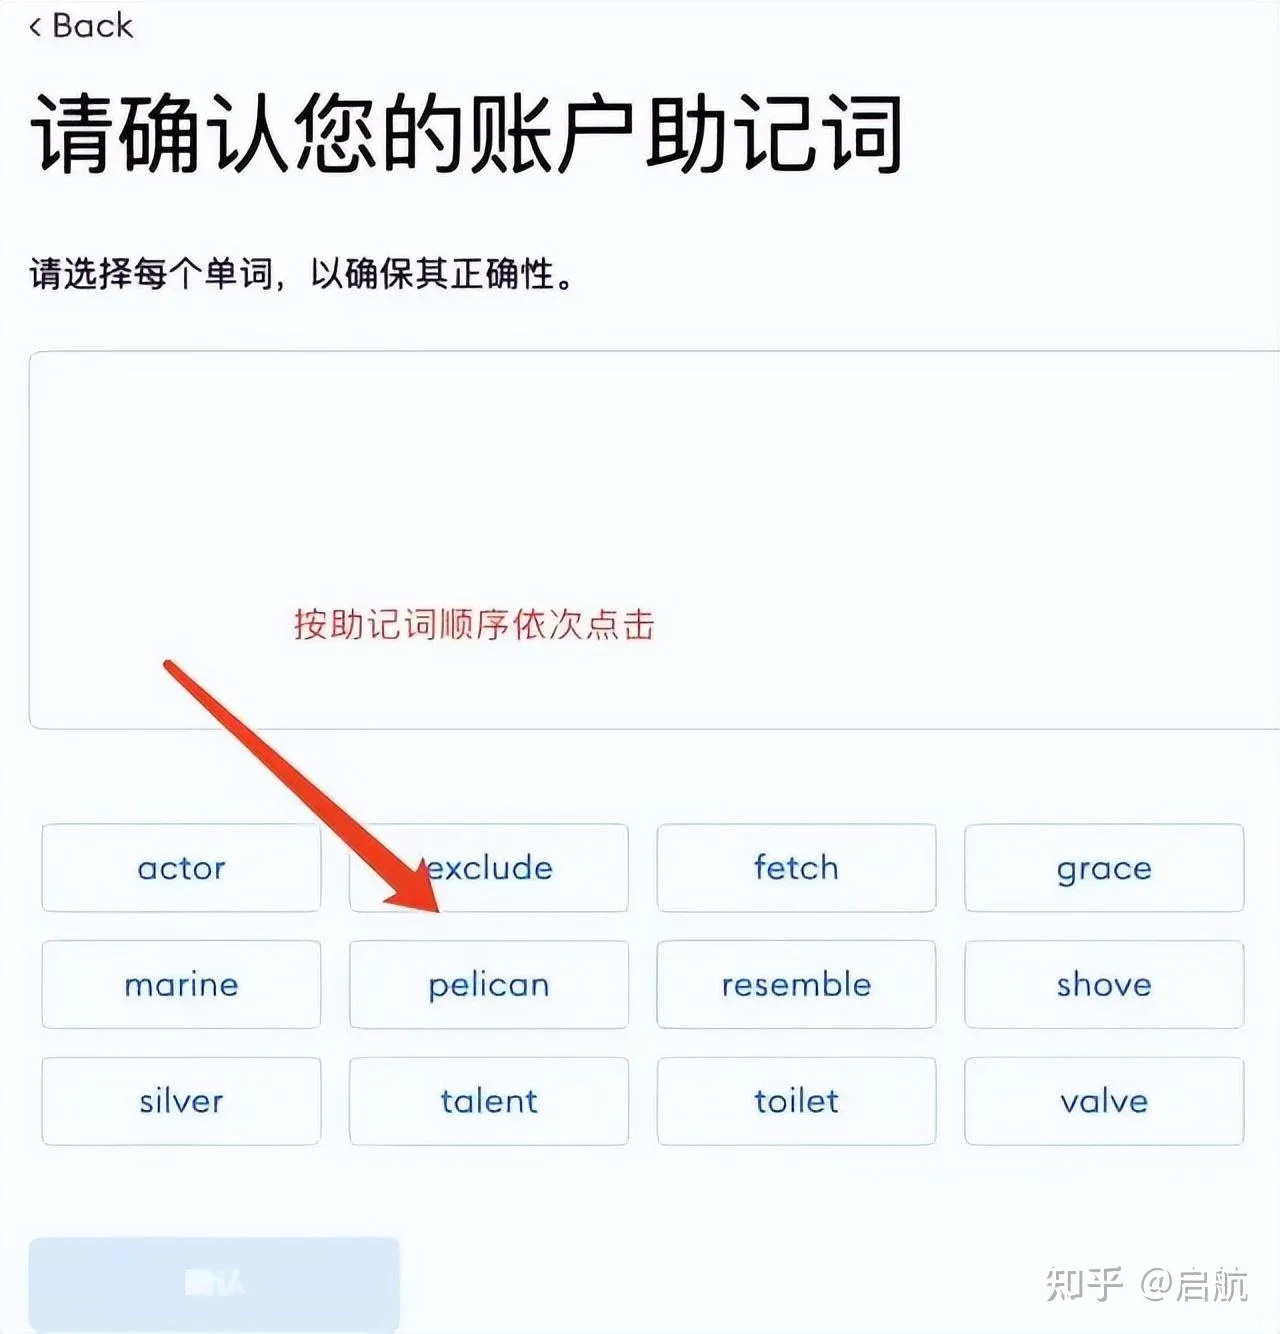
- After confirming that you have recorded the seed phrase correctly, click Next and, in order, type the 12 words you just saved. Press Confirm when finished.
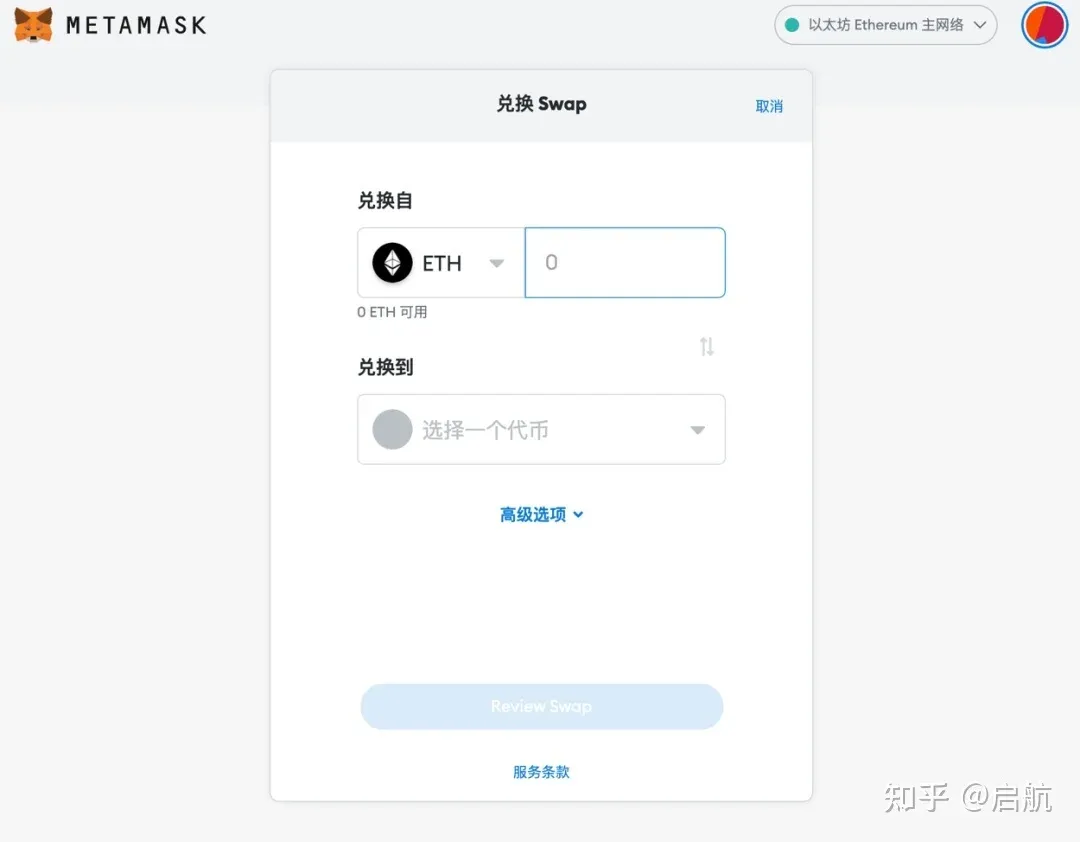
- Once you have read all the informational prompts and clicked through each confirmation, the page will display a success message indicating that the wallet has been created.
---
2. Installing MetaMask
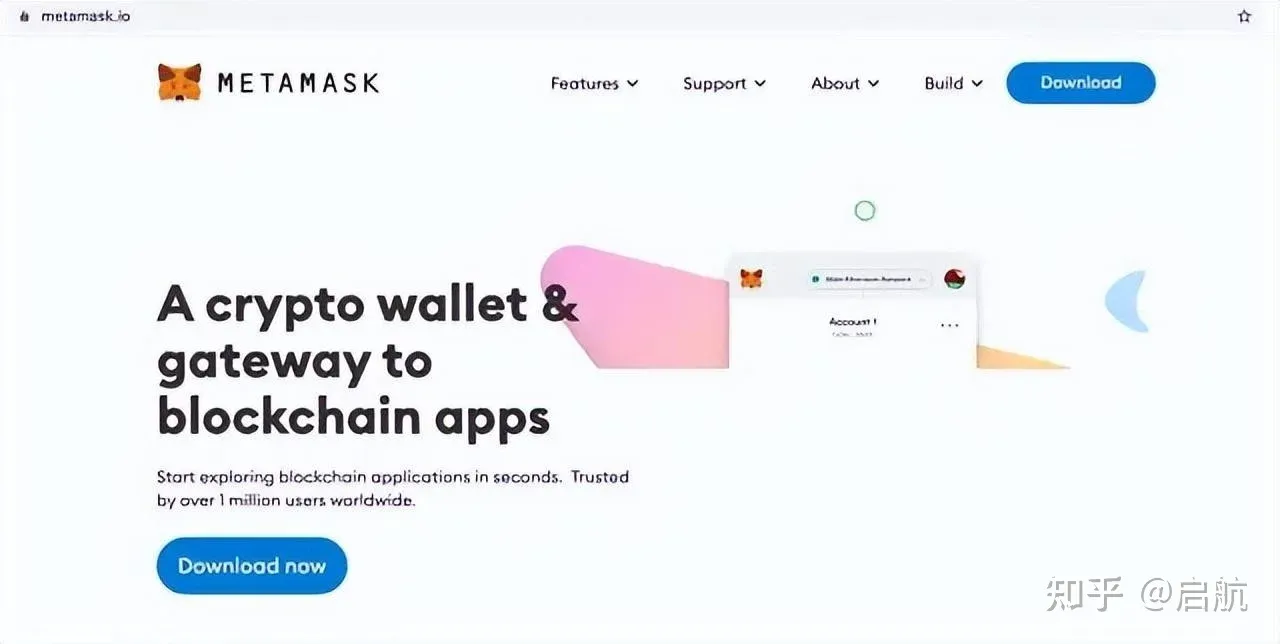
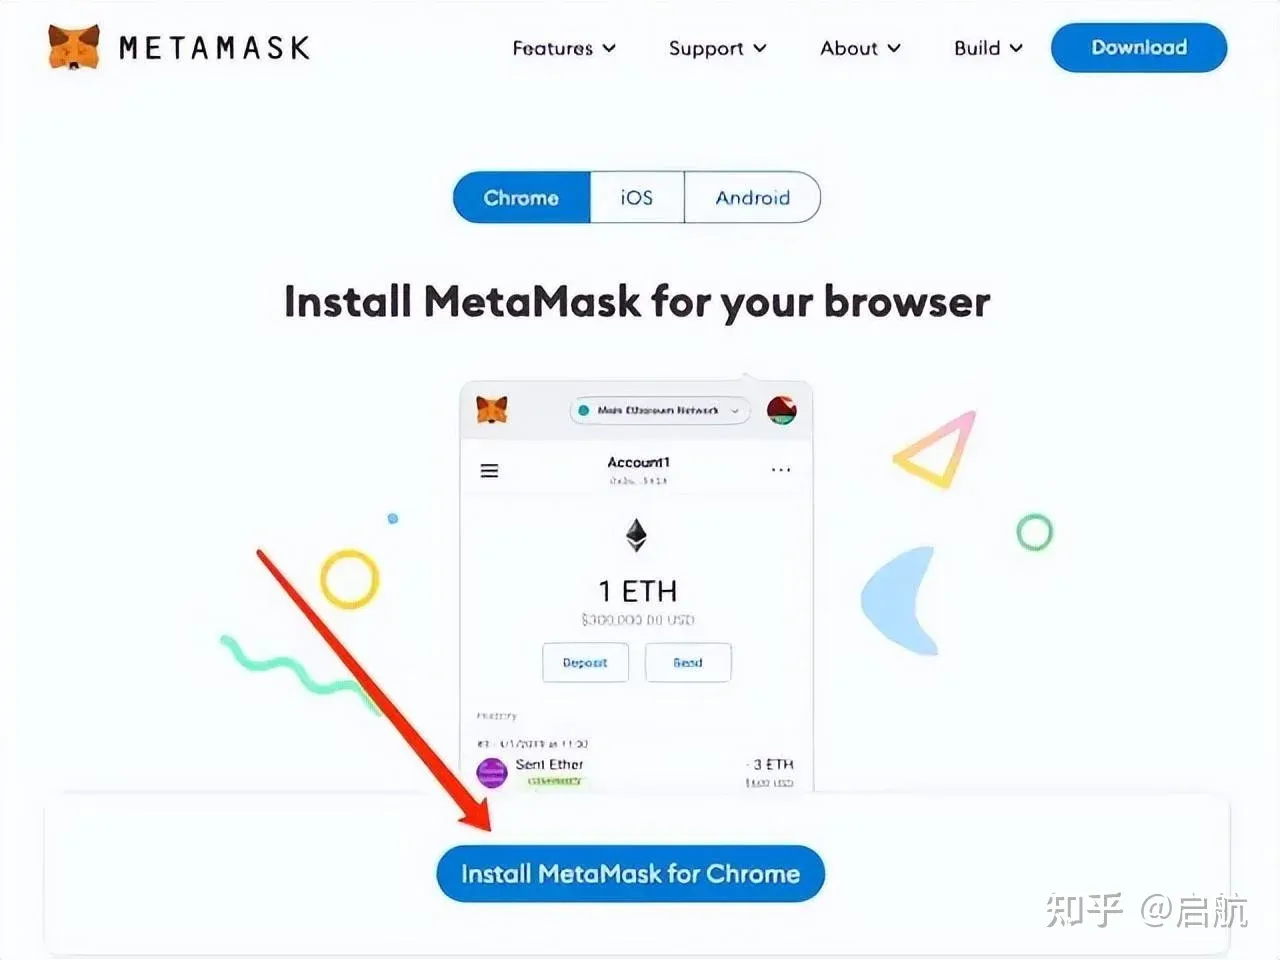
- Visit the official site https://metamask.io/; you will see a Download now button. Click it and select Install MetaMask for Chrome.
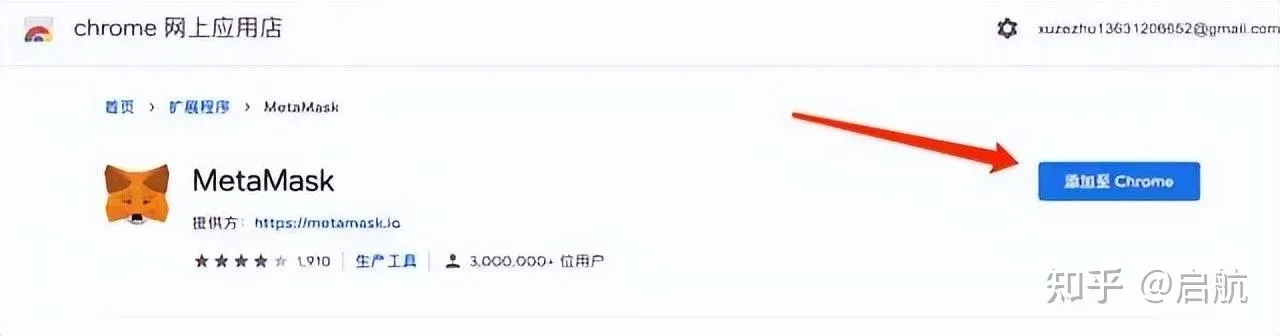
- In the confirmation dialog that appears, click Add to Chrome. Then, on the Chrome extensions prompt page, click Add extension to install the MetaMask plugin into your browser.
- After a successful installation, the fox icon will appear in Chrome’s top‑right extension bar. Click the icon, then click the pin icon on the right to pin the extension to the toolbar for easy access.
---
1. Installing Google Chrome
Before installing MetaMask, ensure you have Google Chrome installed (skip this step if you already have it).
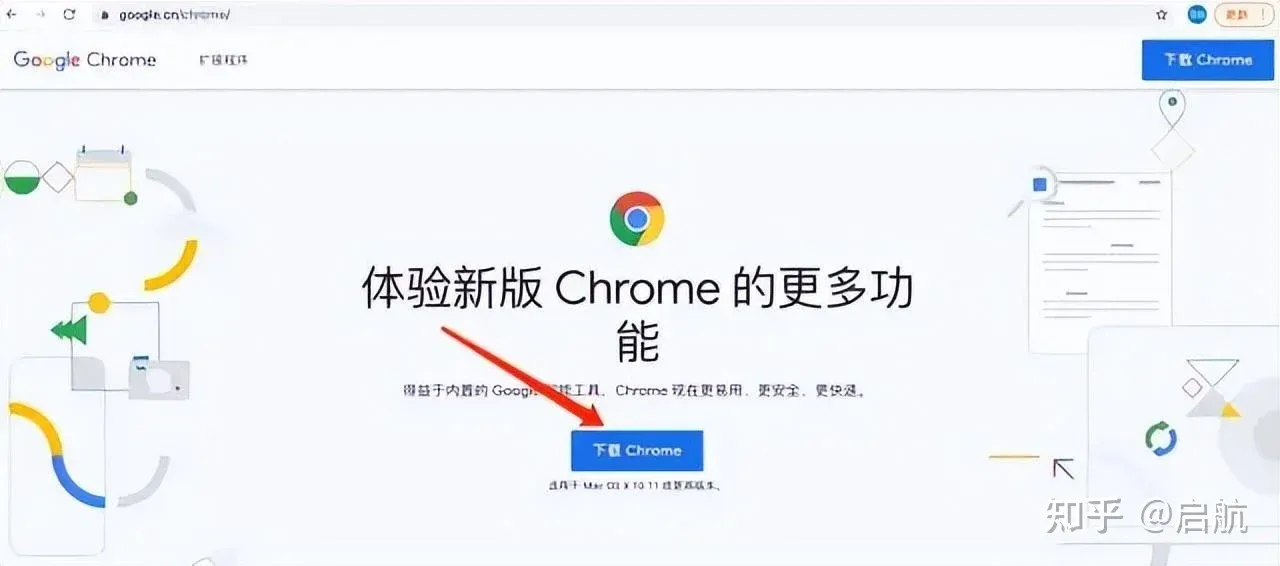
- Open the official Chrome download page https://www.google.cn/chrome/ and click Download Chrome. The site will automatically detect your operating system and offer the appropriate installer.
- macOS users will see a prompt for the macOS version; select it and follow the standard software‑installation steps.
---
6. Adding Other Networks to MetaMask
- Open the chain list website https://chainlist.org/zh in your browser.
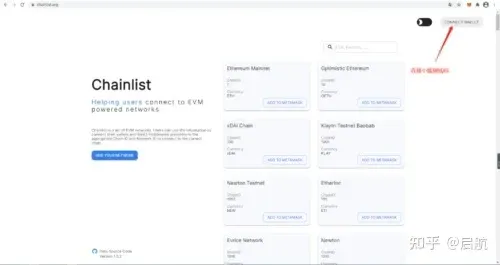
- Click CONNECT WALLET in the top‑right corner; a pop‑up will request permission to connect MetaMask. Confirm to complete the connection.
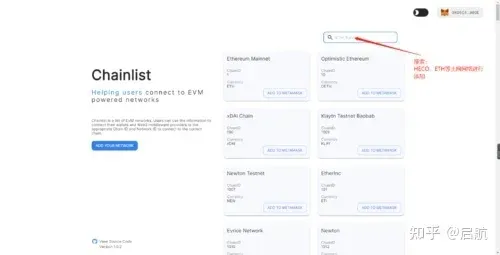
- In the search box, type the name of the mainnet you wish to add, such as HECO (for Binance Smart Chain, search Binance).
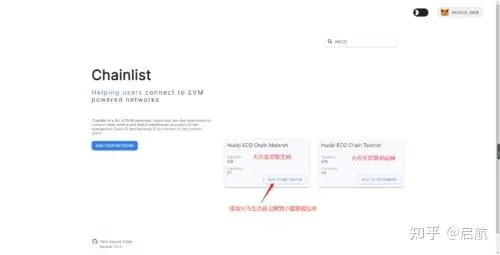
- The results will list the corresponding mainnet and testnet; locate the desired network and click the ADD METAMASK button.
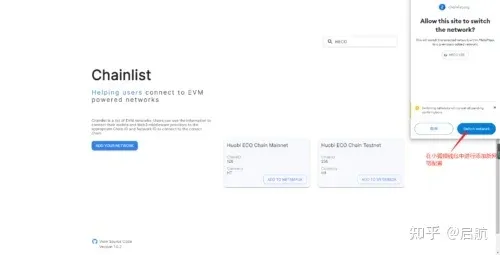
- MetaMask will then display a prompt asking “Allow this site to switch networks?” Click the blue button in the dialog to confirm the switch. The interface will change to the selected HECO mainnet.
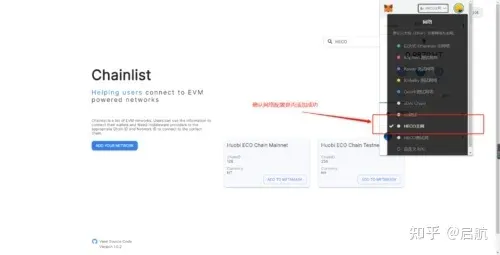
- After the network is added, you can switch between chains later without repeating the process—just select the desired network from the dropdown menu at the top of the wallet interface.
Related Reading
- MetaMask Wallet Security: 5,000 ETH Theft Rumor & Probe
- MetaMask Wallet Guide: Secure Ethereum, DeFi & NFT Management
- MetaMask Guide: Features, Security & Beginner Tips
💡 Register on Binance with referral code B2345 for the maximum trading fee discount. See Binance complete guide.