
Recently active investors have likely noticed the surge of interest around Binance ecosystem tokens, which has redirected capital and attention back to the Binance platform. To participate in new token launches or claim airdrops on Binance, you need to become familiar with the Binance Web3 Wallet.
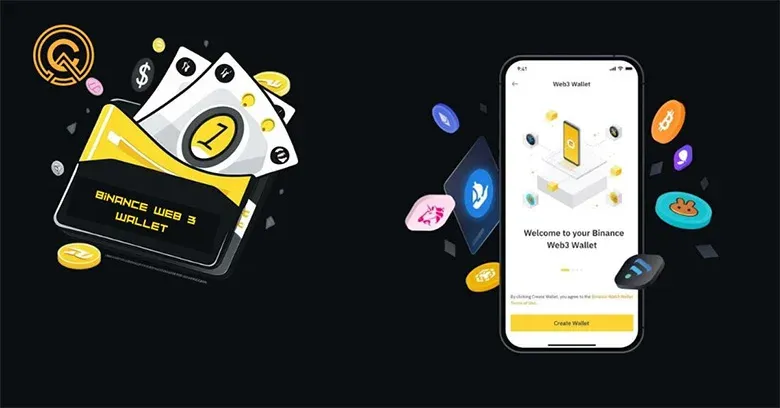
The Binance Web3 Wallet is a decentralized, self‑custodial wallet embedded within the Binance App. Users can create, deposit, and transfer assets within it, as well as take part in ecosystem events such as Launchpad and Megadrop.
In this article we break down the core features and usage flow of the Binance Web3 Wallet, helping investors quickly set up a wallet, complete deposits and withdrawals, and understand its role in ecosystem activities. With illustrated step‑by‑step guidance, you’ll be able to manage your assets more securely, seize platform opportunities, and continue reading to master the practical essentials.

What is the Binance Web3 Wallet?
Definition of the Binance Web3 Wallet
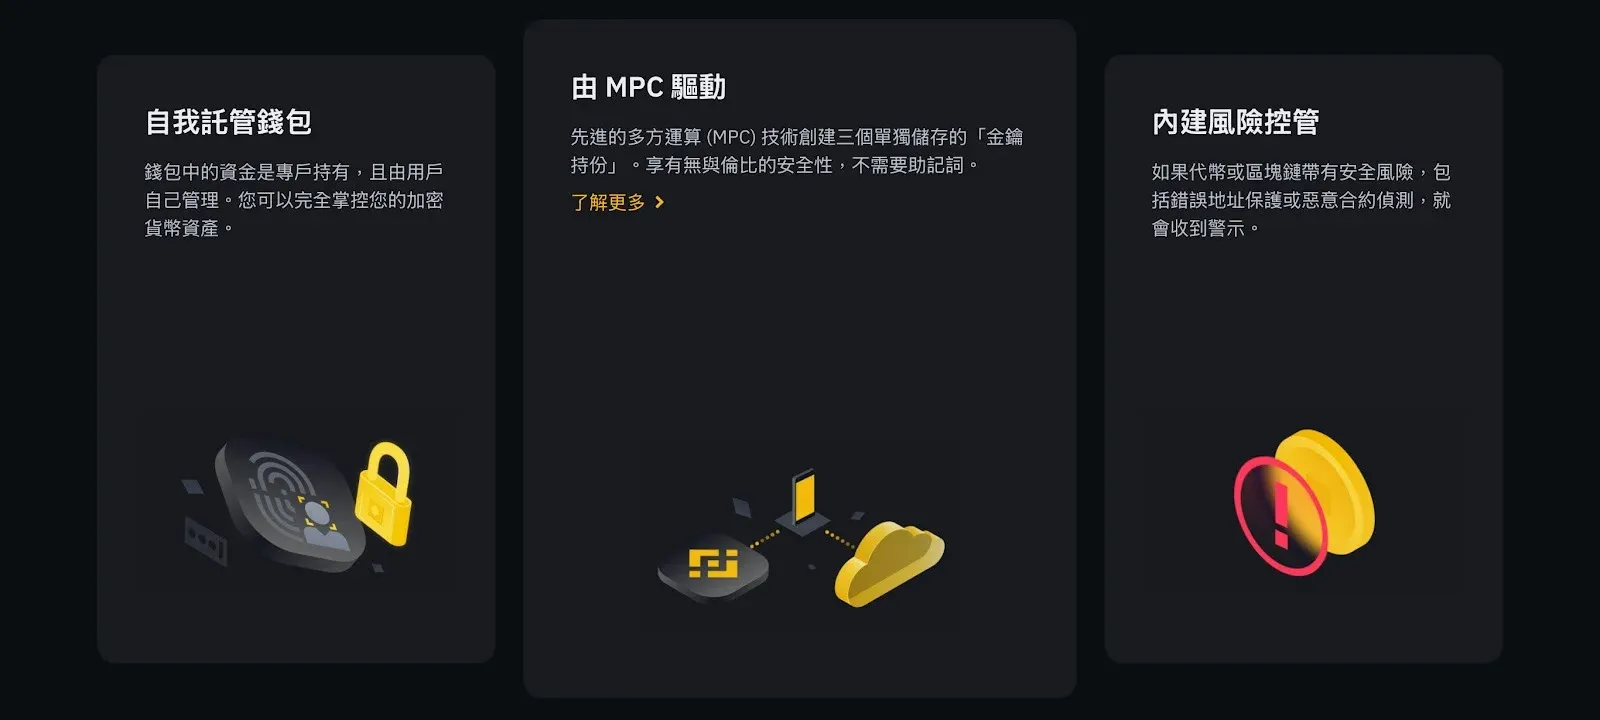
The Binance Web3 Wallet is a decentralized wallet developed by Binance and built directly into the Binance App, so there is no need to download separate software. Users retain full control of their private keys, achieving true “self‑custody” with asset security firmly in their own hands.
The wallet currently supports 30+ major blockchain networks, including BNB Chain, Ethereum, Polygon, and more. It offers NFT trading, DApp interaction, and deep integration with a wide range of Binance ecosystem services.
Multi‑Party Computation (MPC) Security
The Binance Web3 Wallet utilizes Multi‑Party Computation (MPC) technology, meaning that creating a wallet does not require storing the traditional 12‑ or 24‑word seed phrase. The master key is split into three parts: one stored on Binance’s servers, one on the user’s device, and one encrypted with a recovery password set by the user. This architecture boosts security while lowering the entry barrier.
Advantages
- No need to memorize lengthy seed phrases
- Private‑key shards are stored separately, preventing single‑point theft
- Balances security and convenience, making it suitable for beginners
Why You Must Use the Binance Web3 Wallet to Engage with the Binance Ecosystem
1. Participate in Binance Launchpad Token Sales
- Use BNB or other tokens to subscribe to new projects
- Some events require staking BNB in the Web3 Wallet to complete tasks
- Missing the staking step means losing the chance to purchase high‑potential new tokens
2. Earn Megadrop Airdrop Rewards
- Points are calculated from a combination of BNB staking and on‑chain tasks (e.g., connecting the wallet, interacting with DApps)
- The higher your points, the larger the token allocation you receive
- Example: The BounceBit (BB) campaign let users claim tokens worth several hundred USD for free
3. Get Early Access to Binance Alpha Tokens
- Binance Alpha tracks emerging tokens that Binance is monitoring, with a high likelihood of later listing
- By using the Web3 Wallet you can purchase directly on‑chain, avoiding secondary‑market premiums
Tip: All of the opportunities above are accessible only through the Binance Web3 Wallet; using any other wallet will prevent participation in the corresponding activities.
Binance Web3 Wallet Tutorial
Below is a step‑by‑step walkthrough of the wallet’s registration, deposit, and withdrawal processes, helping you quickly integrate into Binance’s on‑chain ecosystem.
1. Register a Binance Web3 Wallet
- Open the Binance App, tap Wallet on the home screen, then select the Web3 tab in the top‑right corner.
- Tap Create Wallet and set a 6‑digit access key (you can also enable fingerprint or facial recognition).
- The system will generate a QR Code; it is recommended to screenshot it and store the image offline for future reference.
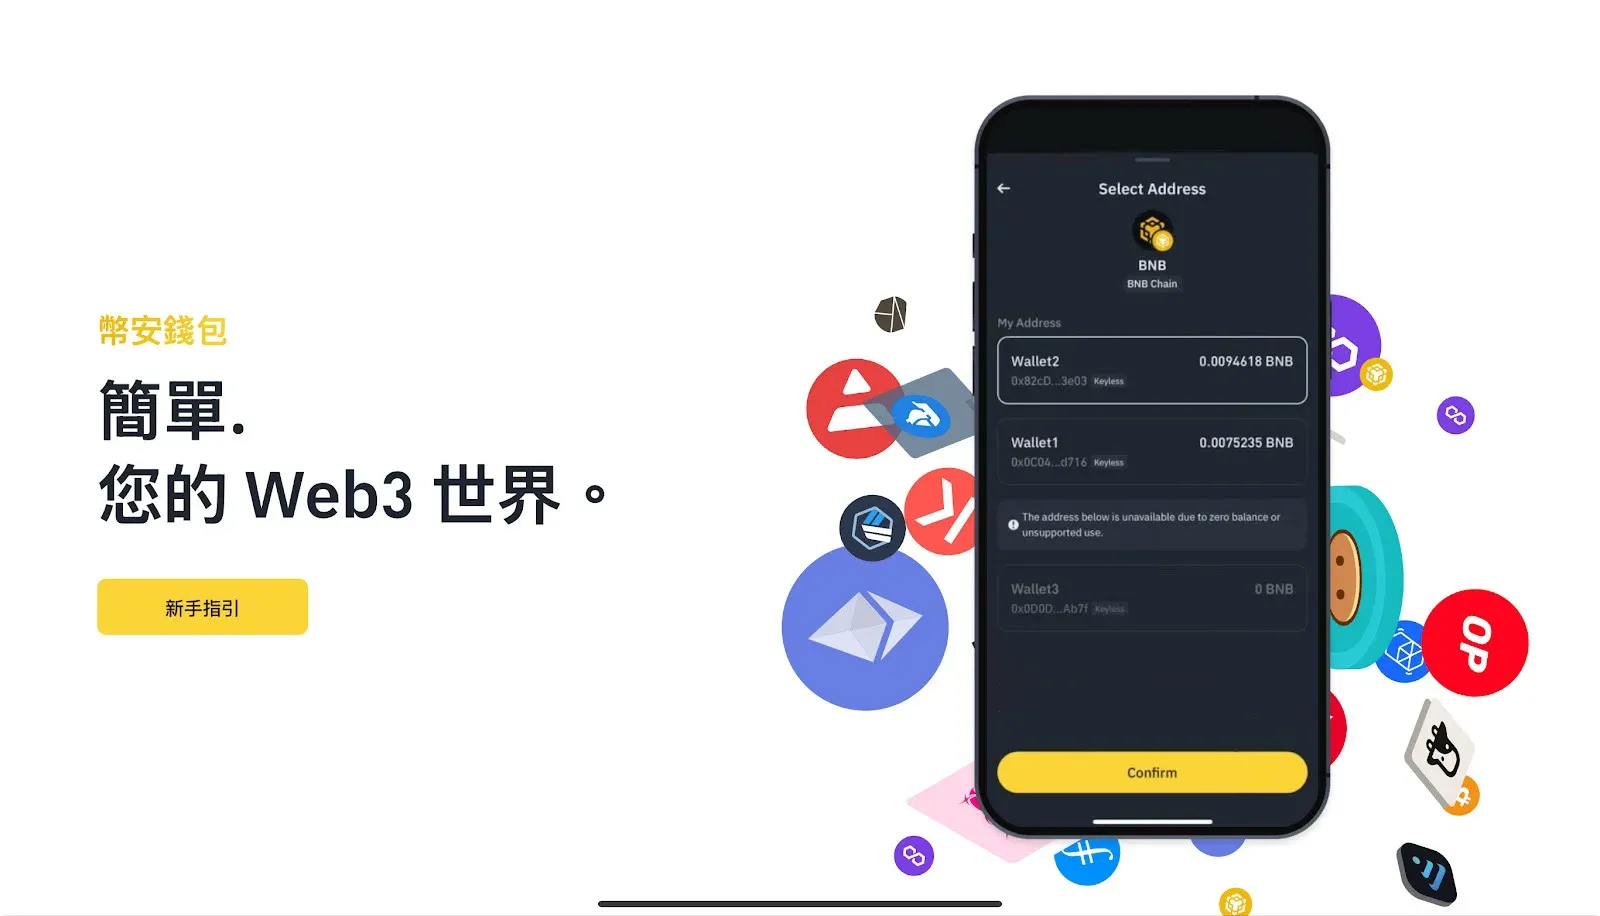
2. Deposit Funds into the Web3 Wallet
- Within the Web3 Wallet interface, tap Deposit.
- Choose the blockchain network you wish to deposit (e.g., BNB Chain, Ethereum).
- Copy the displayed wallet address or scan the QR code with another wallet to send assets.
- For fiat deposits, Binance supports USD via SEPA or SWIFT transfers; US residents should use Binance.US instead of the global platform.
3. Withdraw Funds from the Web3 Wallet
- Tap Withdraw in the wallet screen.
- Select the target network and enter the destination address.
- Confirm the withdrawal details and input your 6‑digit access key to authorize the transaction.
- Withdrawal processing times vary by blockchain, and any associated fees will be displayed before confirmation.
Note: Crypto gains may be subject to taxation in your local jurisdiction; consult a tax professional for advice.
Related Reading
- Binance Web3 Wallet Guide: Setup, Transfers & Private Key Management
- 10 Ways to Get Bitcoin for Free Without Mining or Buying
- Binance Web3 Wallet: Why Assets Won’t Trade/Transfer & Fixes
💡 Register on Binance with referral code B2345 for the maximum trading fee discount. See Binance complete guide.


